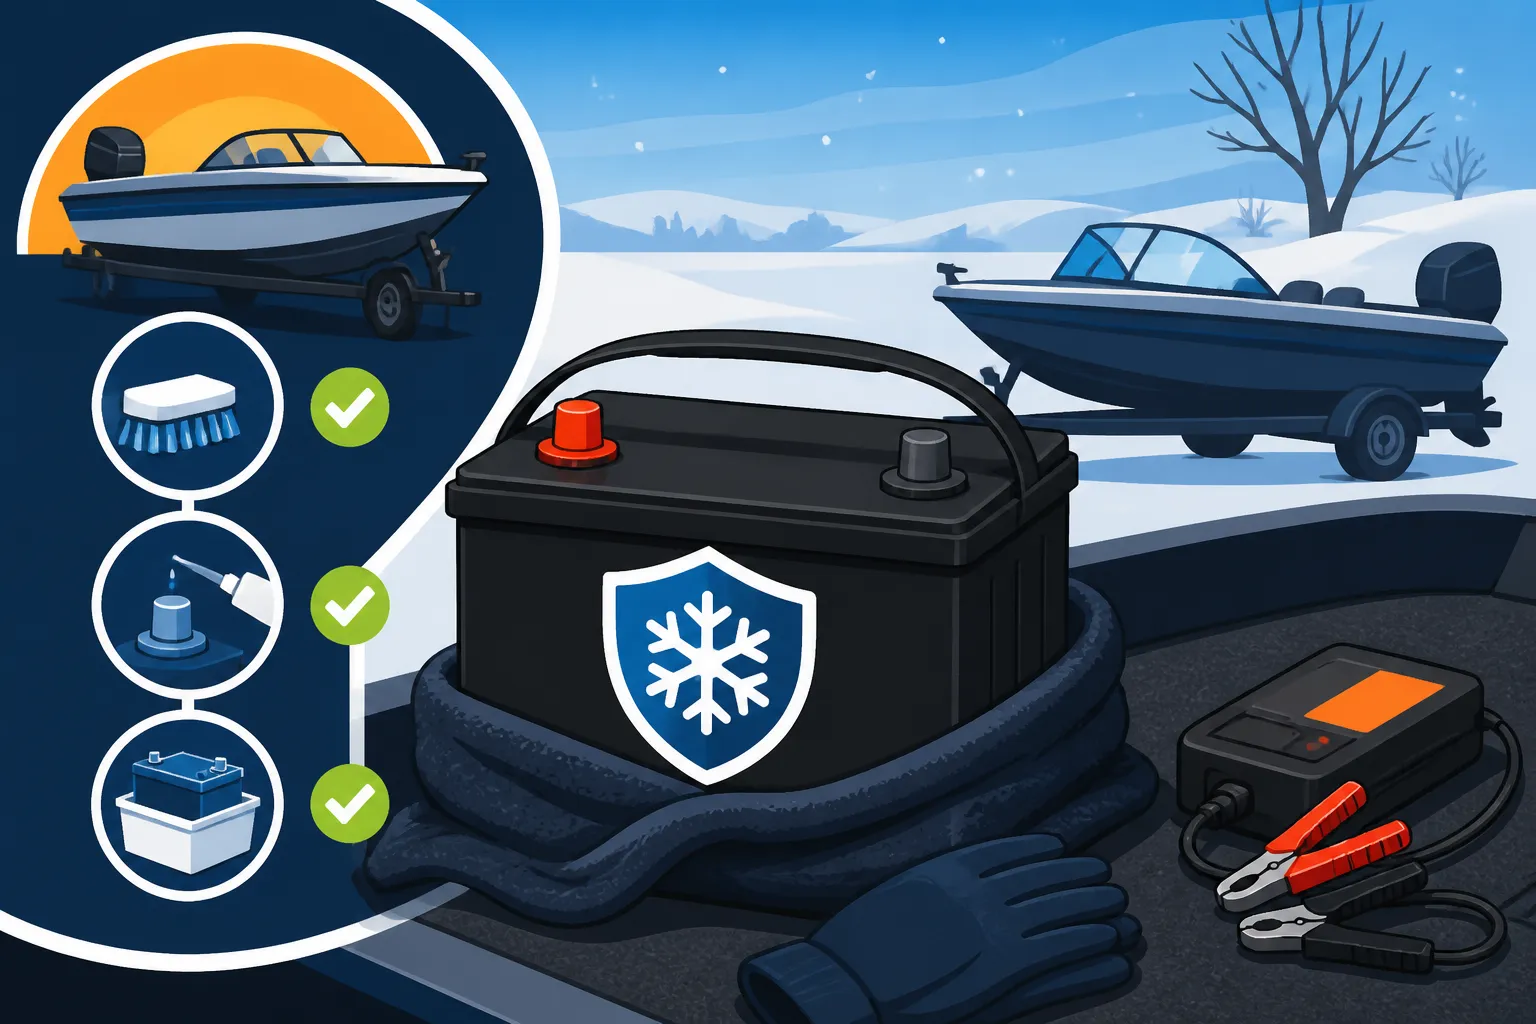
How to Winterize a Boat Battery for Iowa Winters
Alright, fellow Iowa anglers, let's talk about something that can totally derail your spring fishing plans before they even begin: a dead boat battery after a long, brutal Iowa winter. It's a truly frustrating experience to finally get to the ramp on that first warm day, only to find your battery flat as a pancake. This comprehensive guide is here to walk you through exactly how to winterize your boat battery, ensuring it fires right up when you're ready to hit the water again.
Why Winterize Your Boat Battery in Iowa?
Iowa winters are no joke. We're talking freezing temperatures that stick around for months, sometimes dipping well below zero. While you're dreaming of open water and a tug on your line, your boat battery is sitting out in the cold, vulnerable to damage if not properly cared for. Skipping winterization isn't just a gamble; it's practically asking for trouble.
The Harsh Reality of Iowa Winters on Batteries
Imagine your boat battery, typically a lead-acid type, sitting out in your garage or shed, or even worse, still in your boat under a tarp. As temperatures drop, the chemical reactions inside the battery slow down significantly. A fully charged battery's electrolyte has a lower freezing point, making it more resistant to the cold. However, a discharged battery's electrolyte becomes closer to water and can actually freeze solid. When water freezes, it expands, and that expansion can literally crack the battery casing, warp the plates, or damage the internal structure beyond repair. I've seen it happen to countless buddies who thought they could just leave their battery hooked up all winter. It's a sad sight and an expensive lesson.
Beyond the catastrophic freezing, even cold temperatures without freezing can cause accelerated self-discharge. Your battery slowly loses its charge even when disconnected, and cold weather speeds this up. You might think a little trickle charge in spring will fix it, but by then, permanent damage could have occurred, reducing its overall capacity and lifespan. No one wants to buy a new battery every other year, especially when a little preventative maintenance can make it last so much longer.
Protecting Your Investment from the Cold
Your boat battery isn't a cheap piece of equipment. It's an investment, powering your trolling motor, fish finder, and all the crucial electronics that make a day on the water productive and enjoyable. Properly winterizing your battery is about protecting that investment and extending its lifespan. Think of it like putting your fishing rods away properly for the off-season or covering your boat. It's just part of being a responsible boat owner, especially here in Iowa where Mother Nature really tests our gear.
A well-maintained battery will hold a charge better, deliver more consistent power, and last for many more seasons, saving you money and headaches in the long run. Plus, there's the sheer satisfaction of knowing your gear is ready to roll the moment the ice finally melts. This simple process prevents sulfation, which is the buildup of lead sulfate crystals on the battery plates, further reducing capacity and making it harder for the battery to accept a charge.
Gathering Your Winterization Supplies
Before you dive in, it’s a good idea to have everything you need laid out. Rushing through this process without the right tools can lead to mistakes, or even worse, an unsafe situation. This isn't a job you want to start and stop halfway because you're missing something crucial.
Essential Tools You'll Need
You don't need a full mechanic's workshop, but a few key items will make the job safe and efficient:
- Wrench: A basic crescent wrench or a socket set will be necessary to loosen and remove the battery terminals. Make sure it fits the nuts on your battery posts.
- Battery Terminal Cleaner/Brush: These simple wire brushes are designed to clean corrosion off terminals and posts. You can often find them in a combined tool.
- Baking Soda and Water Mixture: This is your go-to for neutralizing battery acid and cleaning the battery case. About a tablespoon of baking soda per cup of water should do it.
- Stiff Bristle Brush or Sponge: For scrubbing away dirt and corrosion with your baking soda solution.
- Clean Rags or Towels: For drying the battery and wiping up spills.
- Battery Hydrometer (for flooded lead-acid batteries): This tool measures the specific gravity of the electrolyte in each cell, telling you the state of charge and overall health.
- Voltmeter or Multimeter: To check the battery's voltage.
- Battery Charger (preferably a "smart" or "trickle" charger): Essential for bringing the battery to a full charge and maintaining it during storage. Chargers with a maintenance mode are ideal.
- Protective Eyewear and Gloves: Safety first! Battery acid can cause serious chemical burns and eye damage.
- Petroleum Jelly or Dielectric Grease: To protect terminals from corrosion during storage.
- Battery Box or Non-Conductive Surface: For safe storage.
Where to Find Your Winterization Gear
Most of these items are readily available. You can usually find a good selection of battery tools, chargers, and safety gear at local auto parts stores, hardware stores, or marine supply shops. For convenience, many anglers turn to online retailers like Amazon for specific battery accessories or smart chargers. If you're looking for a wider selection of marine-specific products, especially high-quality chargers or advanced testing equipment, places like Bass Pro Shops are great resources. They often have knowledgeable staff who can help you choose the right gear for your specific battery type. Remember, a reliable battery charger, especially one with a "float" or "maintenance" mode, is probably the most important tool you'll invest in for long-term battery health. You might even want to pick up some additional safety equipment for your boat while you're at it. Required Safety Equipment for Iowa Boats is a great article to check for that!
The Step-by-Step Battery Winterization Process
Now that you have your supplies ready, let’s get down to the actual work. Taking your time and following these steps carefully will ensure your battery is in prime condition when spring finally arrives.
Safely Removing Your Boat Battery
This is where safety really comes into play. Always wear your protective eyewear and gloves. You’re dealing with electrical current and potentially corrosive acid, so don't take any chances.
- Disconnect the Negative Terminal First: Locate the negative (-) terminal, which is usually marked with a minus sign and often has a black cable. Using your wrench, loosen the nut on the terminal clamp and remove the cable. This prevents accidental sparks if your wrench touches another metal part of the boat while you're working on the positive terminal.
- Disconnect the Positive Terminal: Next, find the positive (+) terminal, usually marked with a plus sign and a red cable. Loosen and remove this cable.
- Remove the Hold-Down Straps or Clamps: Most boat batteries are secured with straps or clamps to prevent them from shifting around. Release these so you can safely lift the battery out.
- Carefully Lift the Battery: Batteries can be surprisingly heavy. Lift with your legs, not your back, or get help if it’s too heavy for you. Place it on a stable, non-conductive surface like a plastic tray or a workbench. Avoid placing it directly on concrete floors for extended periods, as this can sometimes contribute to faster self-discharge for older battery types.
Cleaning and Inspecting for Damage
Once the battery is out and safely positioned, it's time for a thorough cleaning and inspection. This step is critical for preventing future corrosion and identifying any potential problems.
- Neutralize and Clean Corrosion: Mix your baking soda and water solution. Use your stiff brush or sponge to thoroughly scrub the battery terminals, posts, and the entire battery case. Pay close attention to any areas with white, blue, or green powdery corrosion. This solution will neutralize any battery acid present. Rinse the battery thoroughly with clean water afterward, making sure no baking soda solution gets into the battery cells (if it's a flooded type with removable caps). Wipe it dry with a clean rag.
- Inspect for Physical Damage: Look closely at the battery case. Are there any cracks, bulges, or leaks? Are the terminals corroded beyond cleaning? If you see any significant damage, it might be time to consider replacing the battery. Better to find out now than when you're 20 miles out on the lake next spring! Also, check the cables for fraying or damage.
Testing and Charging Your Battery to Optimal Levels
This is perhaps the most important part of winterization. A fully charged battery is a happy battery, especially in the cold.
- Check Electrolyte Levels (Flooded Batteries Only): If you have a flooded lead-acid battery with removable caps, carefully pry them off. The electrolyte (battery acid) should be above the plates. If it's low, add distilled water until the levels are correct. Do NOT use tap water, as minerals can damage the battery. Do this before charging.
- Measure Voltage: Use your voltmeter to check the battery's current voltage. A fully charged 12-volt battery should read around 12.6 to 12.8 volts. Anything significantly lower indicates a discharged state.
- Check Specific Gravity (Flooded Batteries Only): If you have a hydrometer, take a reading from each cell. The specific gravity should be consistent across all cells, typically around 1.265 to 1.275 for a fully charged battery. Significant variations between cells can indicate internal problems.
- Charge to Full Capacity: Connect your smart battery charger. Allow it to fully charge the battery. A smart charger will automatically go into a maintenance or float mode once the battery is topped off, preventing overcharging. This is crucial for long-term health. Never leave a non-smart charger connected indefinitely. For those of you relying on your battery to power your Best Battery for a Trolling Motor, keeping it fully charged over winter is paramount for peak performance come spring.
Applying Protective Measures
Once clean and fully charged, a little extra protection goes a long way.
- Grease the Terminals: Apply a thin layer of petroleum jelly or dielectric grease to the battery posts and terminals. This creates a barrier against moisture and corrosion during storage.
- Consider a Battery Box: If you don't have one, a proper battery box offers an extra layer of protection from accidental short circuits, impacts, and environmental exposure during storage.
Storing Your Battery for the Long Haul
Where and how you store your battery can drastically impact its health over the winter. Don't just toss it in a corner and forget about it.
Ideal Storage Locations and Conditions
The goal is a cool, dry place with a stable temperature. This might be different than where you store your How to Store Fishing Gear Over Winter.
- Avoid Extreme Temperatures: While you’re protecting it from freezing, extreme heat isn't good either. An unheated garage in Iowa is usually okay, but a shed that gets direct sunlight and heats up significantly during mild winter days, then plunges at night, isn't ideal due to temperature fluctuations. A basement or a heated garage is even better, but not strictly necessary. The key is to avoid freezing if the battery isn't fully charged.
- Keep it Off Concrete (for traditional lead-acid): As mentioned, storing older lead-acid batteries directly on concrete can sometimes lead to faster self-discharge. Placing it on a wooden pallet, a piece of cardboard, or in a battery box is a simple way to mitigate this. Modern battery designs are more resistant, but it's a good habit anyway.
- Ventilation: Ensure the storage area has some ventilation. Batteries can emit small amounts of hydrogen gas, especially during charging. While minimal, proper airflow is always a good idea.
- Disconnect Everything: Absolutely ensure no loads are connected to the battery. Even small parasitic drains from clocks or memories can slowly discharge a battery over months.
Monthly Checks and Maintenance
Winterization isn't a "set it and forget it" task. A little periodic attention will ensure your battery stays healthy.
- Monitor Voltage: Every month or so, check the battery's voltage with your voltmeter. Even properly stored batteries can slowly self-discharge. If the voltage drops below 12.4 volts, it’s time for a top-up charge.
- Recharge as Needed: If you’re not using a smart charger that stays connected, put the battery back on the charger until it's fully topped off again. This might be every 4-6 weeks for typical lead-acid batteries. This prevents sulfation and keeps the battery healthy. It’s also why a good smart charger that you can leave connected for months is a fantastic investment; it does this "monthly check and charge" automatically, making your life much easier. Especially important for maximizing your How Long a Trolling Motor Battery Lasts.
- Clean Any New Corrosion: While rare for a clean, greased, and disconnected battery, if you notice any new corrosion starting to form, clean it off immediately with your baking soda solution.
Common Mistakes to Avoid
Even with the best intentions, it's easy to make small mistakes that can have big consequences for your boat battery. Learning what not to do is just as important as knowing what to do.
Forgetting to Disconnect or Clean
This is probably the most common mistake I see, and it's a killer for batteries.
- Leaving the Battery Connected: Even if your boat's ignition is off, there are often small parasitic draws from bilge pumps, stereos, or even memory functions on electronics. Over several months, these small draws will completely drain your battery. A fully discharged battery is highly susceptible to freezing damage in Iowa's bitter cold, even if it feels relatively protected in your garage or under a boat cover. Best Boat Cover for Winter Storage helps with physical protection, but not battery drainage! Always disconnect both terminals before storage.
- Skipping the Cleaning: A dirty battery isn't just unsightly; corrosion on the terminals or case can create small conductive pathways that accelerate self-discharge. Plus, dirt and grime can sometimes trap moisture, leading to faster degradation of the battery casing. A clean battery is a more efficient and safer battery.
Improper Storage Environments
Where you choose to store your battery can make or break its survival through winter.
- Directly on Cold Concrete: While modern battery cases offer better insulation, traditional wisdom still holds some truth: storing a battery directly on a cold concrete floor can lead to a faster loss of charge. It's believed the cold draws energy from the battery. A simple piece of wood, rubber mat, or even cardboard can provide a barrier.
- Areas with Extreme Temperature Swings: As discussed, prolonged exposure to freezing temperatures, especially for discharged batteries, is a death sentence. But rapid, extreme temperature fluctuations (like a poorly insulated shed that heats up significantly during the day and freezes at night) can also stress the battery components over time. A stable, cool environment is always preferred.
- Poorly Ventilated Areas While Charging: If you're leaving a smart charger on your battery for maintenance, ensure the area has some airflow. While unlikely to be an issue with modern chargers and well-maintained batteries, batteries do produce hydrogen gas, which is flammable. Better safe than sorry.
Neglecting Regular Maintenance Checks
Thinking that winterizing is a one-and-done job is another common pitfall.
- No Periodic Voltage Checks: Even a fully charged and disconnected battery will slowly lose charge over months. Skipping those monthly voltage checks means you won't know it's dropping until it's too late. If a battery sits at a low state of charge for too long, it develops sulfation, making it harder to charge back up and reducing its overall capacity. This means less power for those spring Iowa Fishing Techniques Guide trips!
- Not Recharging as Needed: If your voltage checks reveal a drop, you must recharge the battery. Don't let it sit partially discharged for weeks on end. Consistency in keeping it topped off is the secret to maximum battery life. Again, this is where a reliable "smart" charger that can be left connected truly shines, as it automates this process. You can even find great options for these on Amazon or at your local Bass Pro Shops.
By avoiding these common missteps, you’ll be well on your way to ensuring your boat battery is ready to power your fishing adventures for many seasons to come.
| Task | Why It's Important | Tools/Supplies Needed | Frequency |
|---|---|---|---|
| Disconnect | Prevents parasitic drains & accidental shorts | Wrench, protective eyewear/gloves | Annually (fall) |
| Clean & Inspect | Removes corrosion, identifies physical damage | Baking soda solution, brush, rags, eyewear/gloves | Annually (fall) |
| Check Electrolyte (if applicable) | Ensures proper fluid levels for charging | Distilled water, hydrometer (if needed) | Annually (fall) |
| Charge to Full | Prevents freezing & sulfation, maintains capacity | Smart battery charger, voltmeter | Annually (fall) |
| Apply Protection | Prevents terminal corrosion during storage | Petroleum jelly/dielectric grease | Annually (fall) |
| Store Properly | Protects from extreme temps, ensures ventilation | Stable, non-conductive surface, battery box (opt.) | Annually (fall) |
| Monitor & Recharge | Prevents deep discharge, extends lifespan | Voltmeter, smart battery charger | Monthly (winter) |
This article is for general informational purposes only and does not constitute professional advice. Laws, prices and regulations vary by location and change over time. Consult a qualified professional for guidance on your specific situation.