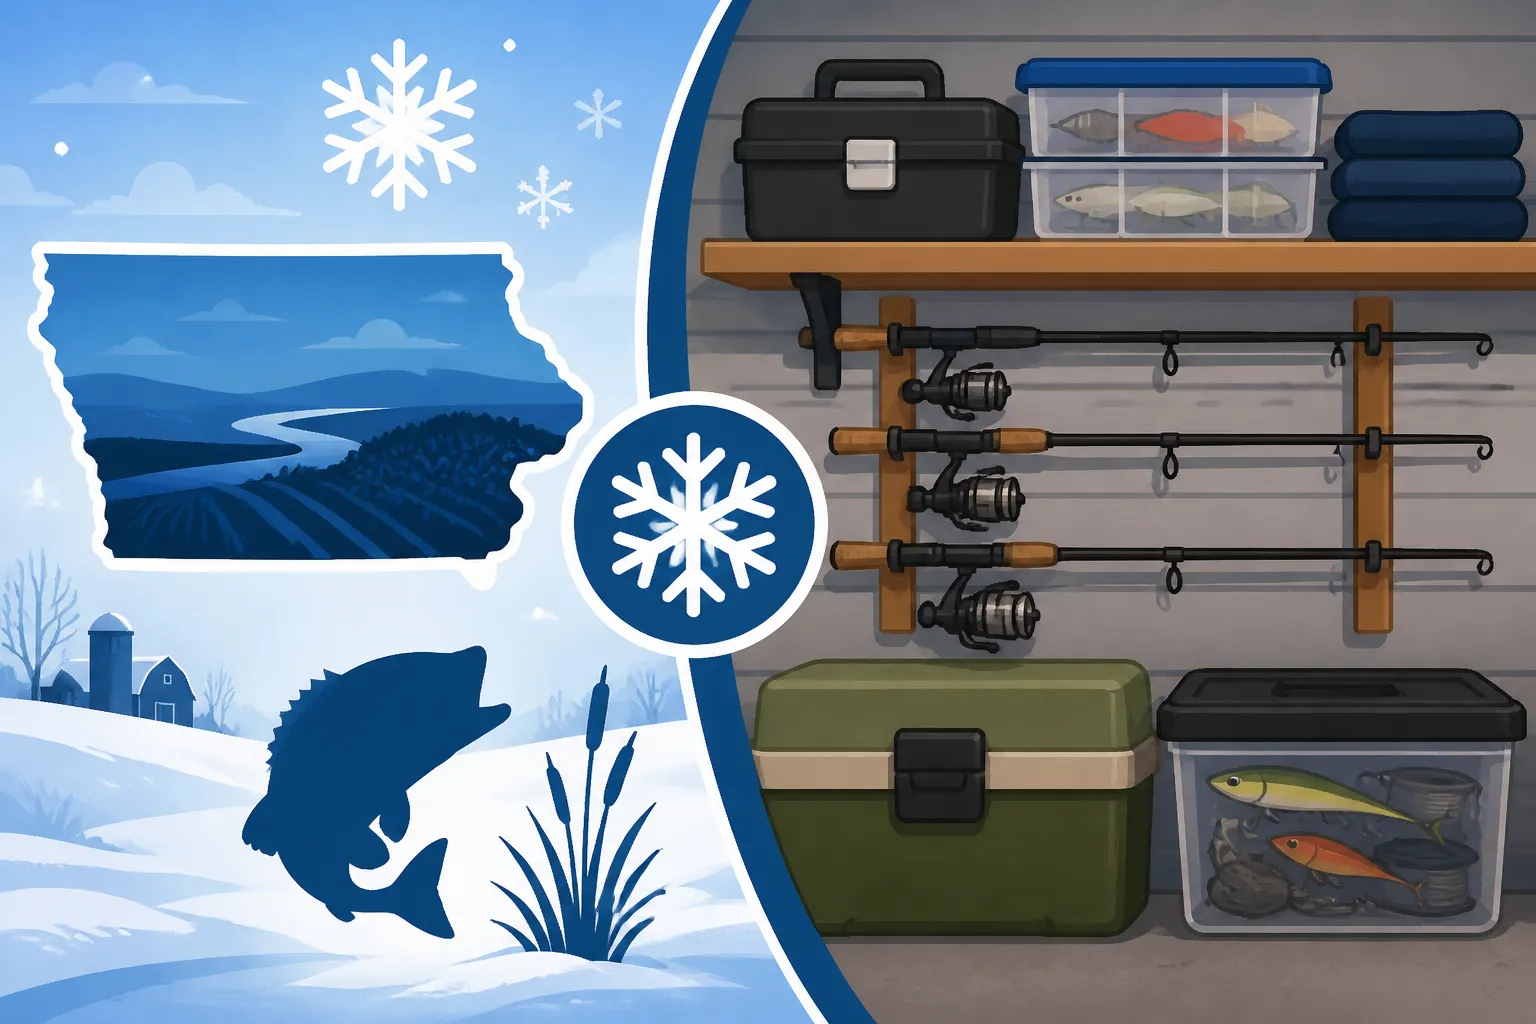
How to Store Fishing Gear Over Winter
Oh, the crisp bite in the air, the leaves turning, and suddenly, those glorious long days on the water start to feel like a distant memory. For many Iowa anglers, the end of fall fishing brings with it a familiar dread: what to do with all that precious gear when the ice starts to form. It’s a common frustration, isn't it? You spend good money on quality rods, reels, and tackle, only to stash them away haphazardly in the garage, hoping for the best. But come spring, you often find rusted hooks, sticky reels, and cracked waders. This guide is all about banishing those winter storage woes, providing you with a detailed, actionable plan to properly put your fishing gear into hibernation, ensuring it's in pristine condition and ready to hit the water the moment the ice melts.
Why Proper Winter Storage is Crucial for Your Gear
Let's face it, Iowa winters are no joke. The cold, the dampness, the fluctuating temperatures – it's a harsh environment, and your fishing gear is definitely not immune to its effects. Simply tossing everything into a corner of the garage or basement without a second thought is a surefire way to shorten the lifespan of your expensive equipment and lead to frustrating malfunctions when spring rolls around. Thinking about storage isn't just about tidiness; it's about preservation.
Protecting Your Investment from the Elements
Imagine spending hundreds, or even thousands, of dollars on a new rod and reel setup, only for it to be prematurely damaged by rust or corrosion because it sat in a damp shed all winter. It’s heartbreaking, and entirely preventable. Rods can warp, reel gears can seize, and lines can degrade if left exposed to extreme cold, humidity, or even just dust and debris. Your gear is an investment in your passion, and treating it with care during its off-season ensures you get the most out of it for years to come. Think of it as putting your tools to sleep in a safe, comfortable bed, rather than leaving them out in the yard during a blizzard.
The harsh reality is that fluctuations in temperature and humidity, which are common in unheated garages or basements, can cause materials like carbon fiber, graphite, and various plastics to expand and contract. Over time, this stress can lead to micro-fractures in your rod blanks or weaken the seals on your reels. Metal components are particularly susceptible to rust when exposed to moisture, even just ambient humidity. By taking the time to properly clean and store your items, you're actively fighting against these environmental assaults, extending the life and performance of every piece of equipment.
Preventing Rust, Corrosion, and Degradation
Rust is the archenemy of any angler's tackle box. Those tiny specks of orange on your favorite hooks or lures can quickly spread, compromising their strength and effectiveness. Rod guides, reel seats, and even the internal mechanisms of your reels are all vulnerable to corrosion, especially if they've been exposed to lake or river water with various minerals or even salty runoff. Degradation isn't just rust; it's also the weakening of monofilament and fluorocarbon lines from UV exposure, the warping of soft plastics that get squashed in a crowded box, or the dry rot that can set into waders and boots.
Even seemingly minor issues, like a bit of grit in a reel bearing or a slight kink in your line, can turn into major problems after months of dormancy. When you neglect proper cleaning and maintenance before storage, you're essentially letting these small issues fester and worsen over the entire winter. This means that when you finally get out on the water, you might be dealing with a reel that grinds, a line that snaps unexpectedly, or a lure that no longer runs true, all of which could have been avoided with a little preventative care.
Ensuring Readiness for Spring Fishing
There's nothing quite like that first warm spring day when the ice finally breaks, and the fish start to get active. You want to be ready to go, right? You don't want to spend precious fishing time untangling snarled lines, scrubbing rust off hooks, or, even worse, making an emergency run to Bass Pro Shops for replacement gear because your old stuff is beyond repair. Proper winter storage means that when the time comes, your gear is already in peak condition, saving you time, money, and frustration.
Imagine skipping the frantic last-minute prep because your reels are already smooth, your rods are straight, and your tackle is organized and rust-free. This preparedness allows you to focus on the exciting prospect of the first bite of the season, rather than troubleshooting equipment failures. It's about setting yourself up for success and maximizing your time on the water, whether you're targeting early spring walleye or casting for hungry bass in a farm pond. A little effort now means a lot less hassle later, and more importantly, more actual fishing time when the Iowa Fishing Season Dates and Limits permit you to get out there.
Step-by-Step Guide to Preparing Your Rods and Reels for Hibernation
Your rods and reels are the heart of your fishing setup. They deserve the most attention when it comes to winterizing. Think of it as a spa day for your most trusted angling companions, getting them clean, refreshed, and ready for a long winter nap.
Cleaning and Lubricating Your Reels
This is probably the most critical step for your reels. After a season of battles with feisty catfish or spirited bass, your reels have endured a lot. They've been splashed with water, potentially dropped in the mud, and certainly exposed to dust and grime.
- Rinse Gently: Start by gently rinsing your reels with fresh, cool water. This isn't about blasting them with a pressure washer, but rather carefully washing away any surface dirt, salt, or lake muck. Pay special attention to the line roller and any crevices where gunk might accumulate. For saltwater use, a thorough rinse is even more crucial.
- Dry Thoroughly: This is paramount. Use a clean, soft cloth to meticulously dry every external part of the reel. Then, let it air dry completely for several hours, or even overnight, in a warm, dry place. You absolutely do not want to trap moisture inside.
- Light Disassembly (Optional but Recommended for Experts): If you're comfortable, you can remove the spool and side plates. This allows you to access and clean more internal components. Refer to your reel's manufacturer manual for specific instructions – don't just start unscrewing things blindly! Many resources, including videos on Amazon, can walk you through basic reel maintenance for popular models.
- Clean Internal Components: Use a Q-tip or a small, soft brush with a specialized reel cleaner (or a mild degreaser) to clean away old grease, dirt, and line residue from gears, bearings, and shafts.
- Lubricate: Apply a very light coat of reel-specific grease to the main gear and any moving parts that require it. Use a tiny drop of reel oil on bearings, the line roller, and the handle knobs. Less is often more with lubrication; over-oiling can attract more dirt. Ensure you use products designed specifically for fishing reels to avoid damaging sensitive components.
- Reassemble and Test: Put your reel back together, making sure all screws are tightened appropriately. Give the handle a spin; it should feel smooth and effortless.
- Loosen Drag: Crucially, loosen the drag completely on your reel before storing it. Keeping the drag tight for months can compress the drag washers permanently, reducing their effectiveness and requiring premature replacement. Just back it all the way off until the spool spins freely.
- Storage: Store your reels in a dedicated reel case or a soft pouch to protect them from dust and impacts. Keep them in a cool, dry place away from extreme temperature fluctuations.
Inspecting and Conditioning Your Rods
Your rods are more robust than reels, but they still need some love and attention to prevent problems like weakened blanks or damaged guides.
- Clean the Blank and Handle: Wipe down the entire rod blank with a damp cloth to remove any dirt or grime. For cork or EVA foam handles, a gentle scrub with mild soap and water can remove sweat and oils. Make sure to rinse thoroughly.
- Inspect Guides and Wraps: Carefully examine each guide for cracks, chips, or bends. Run a cotton swab around the inside of each guide ring; if it snags, you likely have a small crack that could fray your line. Also, check the guide wraps for any loosening or fraying. Minor issues can be repaired, but significant damage might warrant replacement guides.
- Check the Reel Seat and Ferrule Joints: Ensure the reel seat threads are clean and move smoothly. For multi-piece rods, inspect the ferrule joints (where the rod pieces fit together) for any cracks or signs of wear. A light wax or graphite lubricant can help these joints slide together easily next season.
- Storage: Store rods either hanging vertically from the tip or horizontally on a rod rack. Avoid storing them propped against a wall at an angle, as this can lead to a permanent set or bend in the blank over time. If you use rod socks, ensure they are clean and dry before putting them on. Never store rods in direct sunlight or extreme heat, as UV rays can degrade the blank material over time.
Line Management and Replacement
Fishing line often gets overlooked during winter prep, but it's a critical component that can suffer significant degradation if not handled correctly.
- Consider Stripping Old Line: For monofilament and fluorocarbon lines, which are more susceptible to memory and UV degradation, it's often a good idea to strip off the line you've used all season, especially the first 50-100 yards that see the most action. This ensures you start fresh in the spring. If your line is fairly new or you haven't fished much, you might get away with just removing the first 10-20 feet.
- Braid is Different: Braided line is much more durable and less prone to memory or UV damage. You generally don't need to strip off all your braid every year. However, it's a good idea to inspect the first several feet for fraying or nicks. If it looks rough, cut off the damaged section. You can also reverse your braided line on the spool next spring, effectively putting the "new" end out.
- Clean the Spool: Regardless of whether you replace your line, give your reel spool a good cleaning. If you strip all the line, clean the entire spool before winding on new line in the spring. This removes any grit or residue that could damage new line.
- Storage for Spooled Line: If you're keeping line on your reel, make sure it's clean and dry. Avoid putting the reels in direct sunlight in storage. If you remove line and store it separately on bulk spools, keep those spools in a dark, cool, dry place. Heat and light are major enemies of fishing line. Before putting on new line in the spring, let it sit out at room temperature for a while to reduce memory.
Tackling Your Tackle Box: A Winter Overhaul
Your tackle box is like a treasure chest for an angler, but it can quickly become a disorganized mess of rust, tangled lines, and melted soft plastics if not properly managed for the off-season. This is where a little dedication can save you a lot of headaches later.
Sorting, Cleaning, and Organizing Lures and Baits
This process can be a bit therapeutic, allowing you to reflect on the season's catches and plan for the next.
- Empty Everything Out: Seriously, everything. Lay it all out on a workbench or a large table. This gives you a clear picture of what you have and what condition it’s in. You'll likely find old snacks, crumpled receipts, and rusty hooks you forgot about.
- Sort and Declutter:
- Keepers: Lures, weights, and hooks that are in good condition and you use regularly.
- Repairs Needed: Lures with bent hooks, dull blades, or missing components. Set these aside for a winter project.
- Trash: Rusted, broken, or utterly useless items. Don't feel bad about tossing them – they're just taking up space.
- Donations/Giveaways: Lures you never use but are still in good shape. Someone else might love them.
- Clean Your Lures: Wipe down hard baits with a damp cloth to remove any dirt or fish slime. For jigs and spinnerbaits, inspect skirts for damage and clean off any debris. Let everything air dry thoroughly before putting it away.
- Organize for Efficiency: Once clean, consider how you want to organize your tackle box. Using clear, modular tackle trays is a game-changer. You can group lures by type (crankbaits, jerkbaits, topwaters), by species target (walleye, bass, crappie), or by color. This makes it incredibly easy to find what you need quickly next spring. Companies like Plano and Bass Pro Shops offer a wide array of excellent storage solutions. This is also a great time to evaluate if you need something like a Best Tackle Box Setup for Beginners for someone in your family getting into fishing.
Rust Prevention for Hooks and Metal Components
This is where many anglers fall short, only to discover a tackle box full of corroded hooks come spring. Rust can spread rapidly and compromise the strength of your terminal tackle.
- Inspect and Replace Hooks: Go through every lure and replace any hooks that show even a hint of rust or are dull or bent. It's a small expense now that prevents lost fish later.
- Lubricate Metal Components: For items like swivels, snaps, and jig eyes, a very light spray of a silicone-based lubricant or a thin coating of Vaseline can provide a protective barrier against moisture. Make sure to wipe off any excess.
- Desiccants and Rust Preventatives: For tackle trays containing hooks, weights, and other metal items, consider adding a desiccant pack (like silica gel packets) or small, specialized rust-inhibiting tabs. These absorb moisture or release protective vapors, creating a mini rust-free environment within your tackle box. You can often find these in bulk on Amazon.
- Separate Metal from Soft Plastics: Never store bare metal hooks directly with soft plastic baits. The chemicals in soft plastics can react with metal, causing rapid corrosion and even melting the plastic. Use separate compartments or small baggies.
Storage Solutions for Soft Plastics and Jigs
Soft plastics are notorious for melting, sticking together, or reacting negatively with other baits if not stored correctly.
- Original Packaging is Best: Whenever possible, keep soft plastics in their original resealable bags. These bags are designed to maintain the integrity and scent of the bait.
- Separate by Type/Color: If you have loose soft plastics, use separate, clear, plastic worm binders or small, individual baggies to prevent different colors and scents from mixing and potentially reacting. Many experienced anglers keep their "active" plastics in a specialized worm binder within their main tackle box and store the bulk of their inventory in larger bins in a cooler, darker spot.
- Avoid Direct Heat and Sunlight: Soft plastics will melt and warp in direct sunlight or excessive heat. Store them in a cool, dark place.
- Jig Storage: Store jigs with their weed guards intact in dedicated jig boxes or small compartments within your tackle trays. Ensure they are dry before storage. If you have many, consider larger compartmentalized storage bins. This prevents hooks from tangling and protects skirts.
Storing Miscellaneous Gear: From Waders to Electronics
It's not just your rods, reels, and tackle that need attention. Many other pieces of essential fishing gear also require specific care to make it through the winter unscathed. Overlooking these items can lead to frustrating and expensive replacements.
Waders, Boots, and Apparel Care
Nothing ruins a cold spring morning faster than discovering your waders have sprung a leak or your boots are covered in mildew.
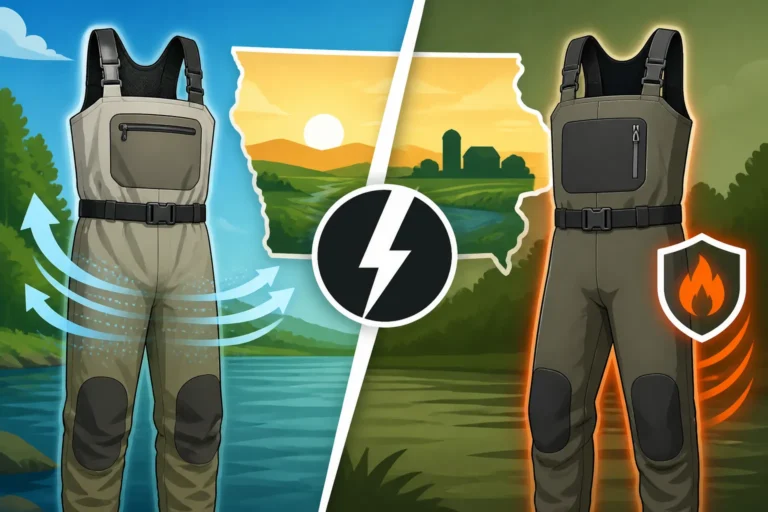
- Thorough Cleaning: After your last trip, rinse your waders, wading boots, and any fishing apparel thoroughly with fresh water. Remove all mud, dirt, and debris. For waders, especially neoprene or breathable types, a gentle scrub with mild soap can help remove oils and residues.
- Dry Completely (Crucial!): This is perhaps the most important step for waders and boots. Hang waders upside down in a well-ventilated area, away from direct sunlight, until they are absolutely bone dry inside and out. Stuffing newspaper into boots can help absorb internal moisture and maintain their shape. Any residual moisture will lead to mildew, odors, and material degradation.
- Inspect for Damage: Once dry, carefully inspect waders for any small punctures or tears. Now is the time to repair them using a wader repair kit, rather than finding a leak when you're waist-deep in a cold trout stream come spring. Check boots for sole separation or lacing issues.
- Proper Storage: Store waders by hanging them vertically in a closet or on a wide hanger to prevent creases and pressure points that can damage the material. Avoid folding them tightly. Keep boots in a dry, well-ventilated area, perhaps with cedar blocks to deter pests and absorb moisture. Store any fishing clothing clean and dry, ideally in breathable garment bags. If you're into Trout Fishing Techniques for Iowa Streams, your waders are a serious investment.
Battery and Electronics Storage
Modern fishing involves a lot of electronics, from fish finders to trolling motor batteries. Improper storage can drastically shorten their lifespan or render them useless.
- Batteries:
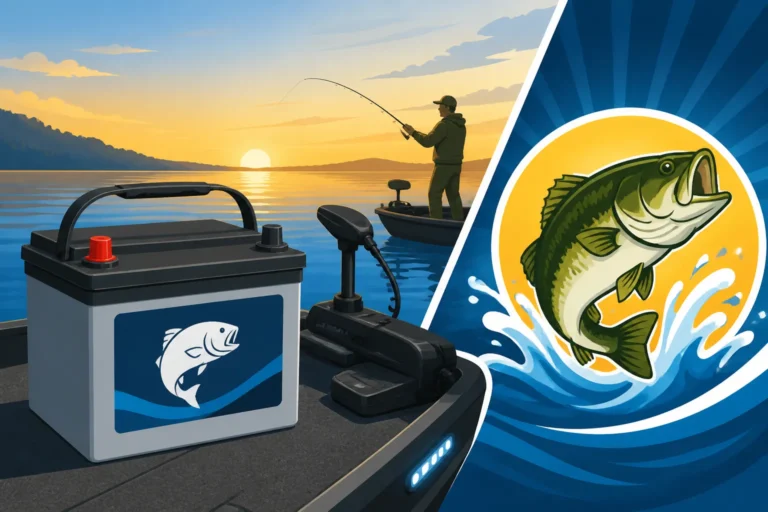
- Clean Terminals: Disconnect all batteries from devices. Clean the terminals of your boat batteries, trolling motor batteries, and any portable battery packs with a wire brush and a baking soda solution to remove corrosion.
- Charge and Maintain: Fully charge all lead-acid batteries (like those for your boat or trolling motor) before storage. Ideally, connect them to a trickle charger or smart charger that has a "maintenance" mode. This keeps them topped off without overcharging and prevents sulfation, which can permanently damage the battery. For lithium batteries, follow the manufacturer's specific storage recommendations, which often involve storing them at a partial charge (e.g., 50-70%) rather than fully charged or completely drained.
- Store in a Stable Environment: Store batteries in a cool, dry place where temperatures are stable. Extreme cold can reduce battery capacity, and extreme heat can damage internal components.
- Electronics (Fish Finders, GPS, Cameras):
- Remove Batteries: For any portable electronics that use disposable or removable rechargeable batteries, remove them before storage to prevent leakage or damage.
- Clean and Protect: Wipe down screens and units with a soft, damp cloth. Ensure all ports are clean and dry. Store them in their original boxes, a padded case, or a dry bag to protect them from dust, moisture, and impact.
- Software Updates: While not strictly storage, winter is an excellent time to update the firmware on your fish finder or GPS units, ensuring they have the latest features and bug fixes for the next season. It's also a good time to back up any waypoints or critical data.
Keeping Your Nets and Tools in Top Shape
Even the smaller, often-used items like nets, pliers, and multi-tools need a little attention before winter.
- Landing Nets:
- Clean and Dry: Wash your landing net thoroughly to remove any fish slime, weeds, or debris. Hang it to air dry completely. Mold and mildew can quickly destroy netting.
- Inspect: Check the net mesh for tears or holes, and the frame for bends or cracks.
- Storage: Store nets flat or hanging in a dry, dark place. Avoid leaving them crumpled in a corner, as this can weaken the mesh.
- Pliers, Scissors, Multi-tools:
- Clean and Oil: Rinse these tools with fresh water, dry them thoroughly, and apply a light coat of corrosion-inhibiting oil (like WD-40 or a silicone spray) to all metal parts, especially pivot points. This prevents rust and keeps them operating smoothly.
- Sharpen: If you have a fillet knife or hook sharpener, make sure it's clean and ready for next season. Dull blades are a hazard and inefficient.
- Storage: Store tools in a dry compartment, perhaps in a small tackle bag or tool roll to keep them from rattling around and getting damaged or damaging other gear.
Here's a handy overview to help you keep track of your winterizing tasks:
| Gear Type | Key Winterization Steps | Why It's Important |
|---|---|---|
| Rods | Clean blank/handle, inspect guides, hang vertically/horiz. | Prevents warping, extends life of rod/guides. |
| Reels | Rinse, dry, clean/lubricate, loosen drag, store in pouch. | Prevents rust, maintains smooth operation, saves drag. |
| Fishing Line | Strip old mono/fluoro, inspect braid, clean spool. | Prevents memory, degradation, ensures strength. |
| Hard Lures | Clean, inspect hooks, replace rusty hooks. | Prevents rust spread, ensures sharpness. |
| Soft Plastics | Store in original bags, separate by type/color, cool/dark. | Prevents melting, reactions, maintains scent/shape. |
| Hooks/Weights | Clean, dry, apply rust preventative, use desiccants. | Prevents rust, maintains integrity. |
| Waders/Boots | Clean, thoroughly dry, inspect for leaks, hang/ventilate. | Prevents mildew, dry rot, ensures waterproofness. |
| Boat Batteries | Clean terminals, fully charge, use trickle charger, stable temp. | Prevents sulfation, prolongs battery life. |
| Electronics | Remove batteries, clean, protect in padded case. | Prevents leakage, protects sensitive components. |
| Nets/Tools | Clean, dry, oil metal tools, inspect nets. | Prevents rust, mildew, ensures functionality. |
Taking the time to properly store your fishing gear over winter is an investment that pays dividends when spring arrives. It means less money spent on replacements, more effective gear on the water, and more enjoyment from your passion. Instead of facing a mess, you'll open your storage and find everything ready for action, allowing you to focus on the exciting prospect of Spring Fishing in Iowa rather than tedious repairs. So, pour yourself a hot cup of coffee, put on some music, and tackle that gear – your future self will thank you for it!
Disclaimer
This article is for general informational purposes only and does not constitute professional advice. Laws, prices and regulations vary by location and change over time. Consult a qualified professional for guidance on your specific situation.