How to Keep Fish Fresh Without a Livewell
Oh, the age-old dilemma of every passionate angler who doesn't have the luxury of a built-in livewell! You've just landed a beautiful walleye or a feisty bass on a hot Iowa summer day, and that immediate thought pops into your head: "How do I keep this magnificent catch fresh until I get home without it spoiling?" It's a common frustration, especially for those of us fishing from shore, a kayak, or a smaller boat where a dedicated livewell just isn't an option. This guide is all about giving you the practical, down-to-earth strategies to ensure your hard-earned fish stays as pristine and delicious as possible, even when you're livewell-less.
Why Keeping Fish Fresh Matters (and the Challenge Without a Livewell)
Let's be real, there's nothing more disappointing than putting in the effort to catch fish, only to have it degrade in quality before it ever hits the pan. Keeping your catch fresh isn't just about taste; it's about food safety and respecting the resource.
The Importance of Fish Quality
Think about it: the moment a fish leaves the water, the clock starts ticking. Enzymes begin to break down the flesh, and bacteria, which are naturally present, start multiplying rapidly, especially in warm conditions. This process leads to that "fishy" smell and taste that no one wants. Properly cared-for fish, on the other hand, maintains its firm texture, mild flavor, and vibrant appearance. It's the difference between a truly spectacular meal and one that leaves you wishing you'd just gone to the grocery store.
The goal is to slow down those natural processes as much as possible. This means keeping the fish cool, clean, and preventing bacterial growth. For many of us, fishing isn't just a hobby; it's a way to provide fresh, healthy food for our families. And to truly enjoy that bounty, the freshness factor is absolutely crucial. Nobody wants to risk getting sick, and nobody wants to waste a good fish because it wasn't handled correctly. It’s a point of pride, really, to bring home fish that still feels like it just came out of the water.
The Livewell Advantage and Its Absence
A livewell, for those unfamiliar, is essentially a built-in, aerated tank on a boat designed to keep fish alive in fresh, circulating water. It’s a fantastic system because it keeps the fish in a natural state, minimizing stress and delaying the onset of spoilage until you can properly process them. They're common on larger fishing boats, especially those geared towards tournaments where keeping fish alive for weigh-in is paramount.
However, not everyone has a boat big enough for a livewell, or even a boat at all! If you're out on a solo kayaking adventure on one of Iowa's beautiful rivers, casting from the bank of a community pond, or enjoying a day on a small jon boat on a local lake, a livewell is often out of the question. Kayak Fishing Gear Guide for Iowa Rivers touches on some alternative storage ideas specifically for paddle craft. This doesn't mean you're doomed to mediocre fish; it just means you need to be a bit more proactive and intentional about your fish care. The challenge is replicating that cool, stable environment using portable gear, and trust me, it’s absolutely doable.
Essential Gear for Off-Boat Freshness
So, if a livewell isn't in your arsenal, what do you need? Luckily, the gear required is pretty simple and effective, and you probably already own most of it. It’s all about creating the right conditions.
The Humble Cooler: Your Best Friend
This is your primary weapon in the fight against spoilage. A good cooler is invaluable. It needs to be well-insulated, durable, and the right size for the fish you expect to catch.
- Types of Coolers: You've got your basic plastic coolers, which are fine for shorter trips or cooler weather. Then there are rotomolded coolers, often seen from brands like Yeti or RTIC, which offer superior insulation and can keep ice for days, even in scorching heat. For most Iowa fishing trips, a decent mid-range cooler will do the trick. You don't necessarily need the top-of-the-line model, but investing in one that holds ice well is always a smart move. Check out Best Cooler for Keeping Fish Fresh for more detailed recommendations.
- Insulation is Key: The thicker the walls and the tighter the seal, the better. You want to minimize heat transfer as much as possible. A cooler that struggles to hold ice for more than a few hours on a warm day is really just a glorified bucket.
- Size Matters: A cooler that's too small won't have enough space for fish and ice, which defeats the purpose. Too large, and you're hauling around unnecessary bulk and trying to fill a massive space with ice. Think about the typical size of fish you catch and the duration of your trip. A 45-quart cooler is a great all-around size for a day trip for a few anglers. Make sure it's easy to clean, too, as fish can be messy.
Ice, Ice, Baby: The Ultimate Preservative
Ice isn't just cold; it's the critical component for rapidly dropping the fish's core temperature, which is the number one way to prevent spoilage. You need a lot of it, and the right kind.
- Types of Ice:
- Cubed Ice: Readily available everywhere, it's great for filling gaps and quickly cooling down water. However, it melts faster than block ice. You can pick up a bag at any gas station, grocery store, or even some local bait shops.
- Block Ice: This is the king of longevity. A few solid blocks of ice will last much longer than an equivalent weight of cubes. It's perfect for laying on the bottom of your cooler to provide long-term chill. Many anglers will freeze their own blocks at home using plastic milk jugs or old juice containers.
- Ice Slurry: This is the gold standard for immediate freshness. It's a mix of ice and water, creating an icy bath that completely surrounds the fish. Water conducts heat away from the fish much faster than air or just ice cubes alone, chilling the fish quickly and evenly.
- How Much Ice? A good rule of thumb is a 2:1 ratio of ice to fish by weight, or even more on a really hot day. You can never really have "too much" ice. Don't be stingy!
- Pre-Chilling: This is a pro tip. Before you even leave the house, load your cooler with some ice or cold water for at least an hour to bring down the internal temperature. Pour out the "sacrifice" ice/water, then load it with fresh ice for your trip. This prevents your valuable fresh ice from melting just by trying to cool down a warm cooler.
Beyond the Cooler: Stringers and Fish Bags
While the cooler is primary, other tools can play a role, depending on your fishing style and target species.
- Stringers: A classic for a reason, stringers keep fish in the water, theoretically alive and fresh. However, they have significant drawbacks. Fish on a stringer are often stressed, injured, and vulnerable to predators. More importantly, in warm water, they will actually spoil faster than if immediately placed on ice. Think of a stringer as a very temporary holding solution, maybe for a quick photo op or while you're packing up. For true freshness, get fish on ice quickly. Best Stringer for Keeping Fish goes into more detail about when these might be appropriate, but generally, it's not for long-term freshness.
- Insulated Fish Bags: These are a fantastic alternative for larger fish or for anglers with limited space, like those on kayaks or small inflatables. Brands like Reliable Fishing Products or Engel make excellent ones. They are essentially soft-sided, heavily insulated bags that can be easily stowed. You fill them with ice, just like a cooler, and they conform better to odd-shaped spaces. They're especially popular for species like muskie or northern pike that might not fit easily into a standard hard cooler.
Step-by-Step Methods for Keeping Your Catch Prime
Now that you have your gear, let's talk about the process. It's not just about throwing fish in a cooler; there's a sequence of actions that makes all the difference.
The Immediate Post-Catch Protocol
This is where the magic (or tragedy) begins. What you do in the first few minutes after landing a fish dramatically impacts its final quality.
- Dispatch Humanely: This is crucial for both ethics and meat quality. A struggling, stressed fish releases lactic acid into its muscles, which negatively affects flavor and texture. A swift, firm blow to the head, often called "brain spiking" or "ike-jime" (a Japanese technique), is the most humane and effective method. You want to sever the brain immediately. A Best Landing Net for Catfish can help you control the fish quickly and safely for this step.
- Bleeding (When Appropriate): For many species, especially those with red meat like salmon or some trout, bleeding the fish immediately after dispatching dramatically improves flavor and shelf life. Blood left in the flesh can accelerate spoilage and impart a metallic taste. To bleed a fish, cut the gill arches (the red feathery structures inside the gill plate) or make a deep cut under the throat just behind the gills, severing the main artery. Then, place the fish in an ice slurry (or just ice) to cool rapidly while the blood drains. This is best done in a dedicated container or directly into your ice cooler, making sure the blood has a way to drain or is contained within your ice slurry.
- Gutting (When Appropriate/Feasible): While not always necessary immediately, especially if you have a good ice slurry, gutting can be beneficial. Removing the internal organs eliminates a major source of bacteria and digestive enzymes that contribute to spoilage. If you're going to be out for an extended period in warm weather, or if you're catching larger fish, field-dressing is highly recommended. We'll dive deeper into this next.
The Ice Bath Method (The Gold Standard)
This is hands-down the most effective way to keep your fish fresh without a livewell. It's simple, but requires commitment to ice.
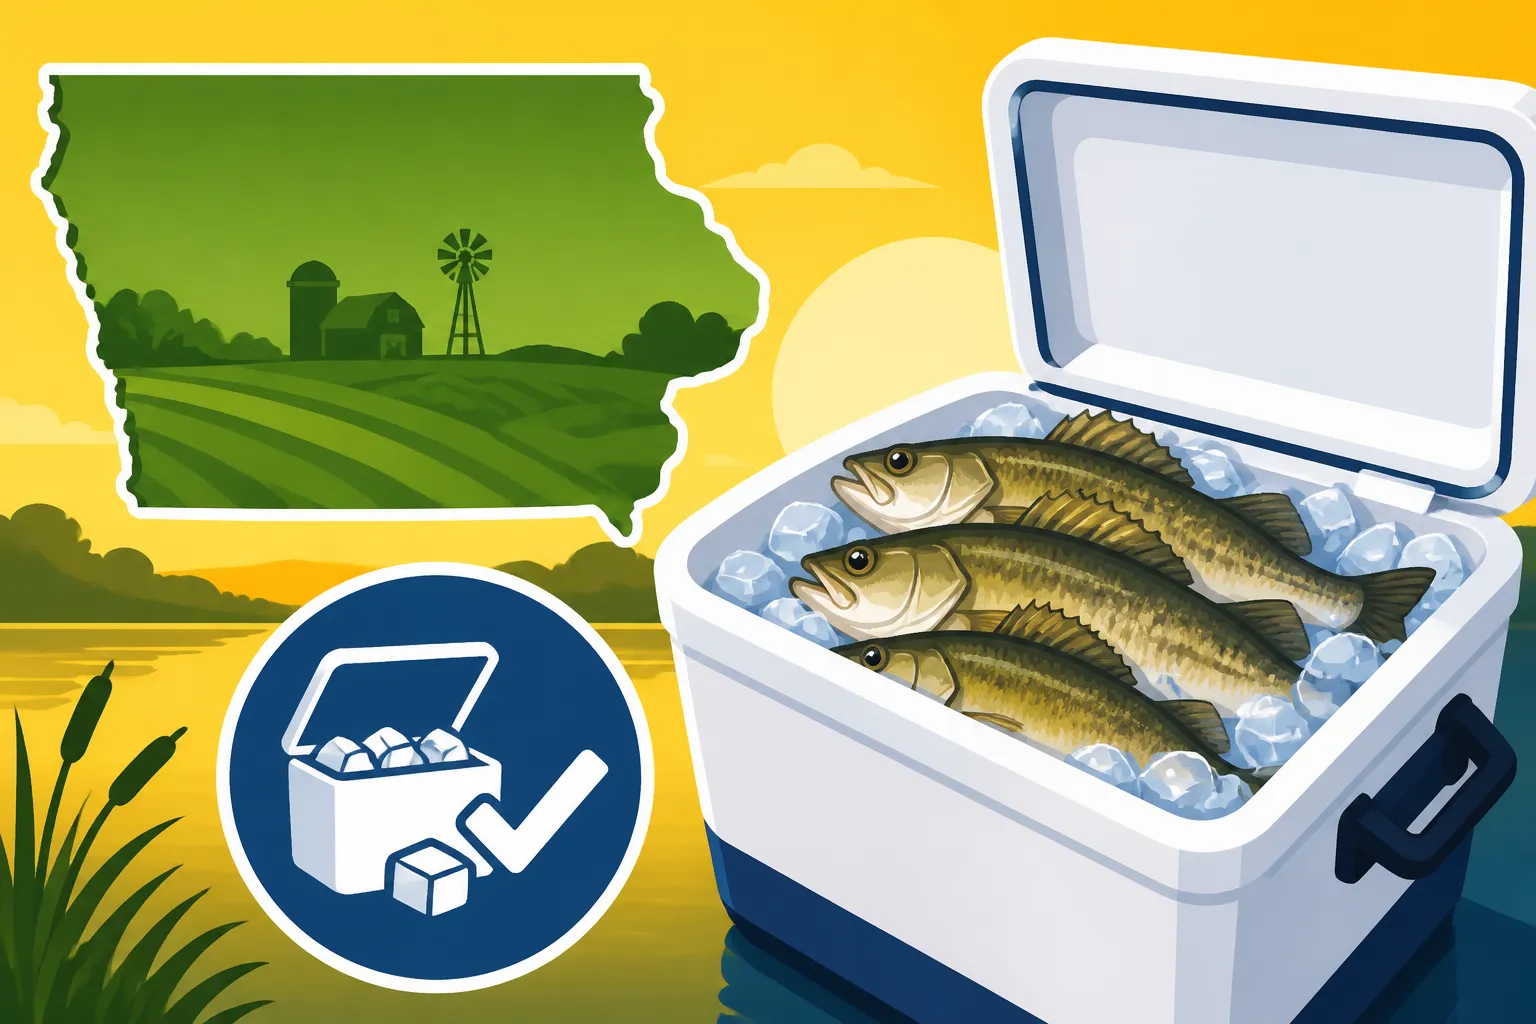
- Create an Ice Slurry: In your pre-chilled cooler, layer a good amount of block ice on the bottom, then add a generous amount of cubed ice. Pour in just enough fresh water to create a slushy mix that's about two-thirds ice, one-third water. The water needs to be very cold, near freezing. This isn't just ice water; it's a super-chilled, fish-enveloping slush.
- Submerge Fish Completely: As soon as you dispatch and bleed your fish, immediately submerge it entirely into the ice slurry. The key is complete contact. Don't just lay it on top of the ice. The cold water will rapidly draw heat out of the fish's flesh, stopping bacterial growth in its tracks.
- Layer and Replenish: As you catch more fish, continue to add them to the slurry, making sure each fish is fully submerged. If your slurry starts to warm up or the ice melts significantly, drain some of the water and add more fresh ice. Keep that slushy consistency. The beauty of this method is how quickly it drops the fish's core temperature, halting enzyme activity and bacterial growth. This method is used by commercial fishermen and will deliver the absolute best quality fish to your dinner table.
Field Dressing for Extended Freshness
Sometimes, just an ice bath isn't enough, especially if you have a long day planned or are targeting larger species. Field dressing adds another layer of protection.
- When to Gut and Gill: If you're fishing in very warm conditions, expect a long ride home, or catching larger fish that are harder to cool completely, gutting and gill removal are excellent steps. You're removing the most perishable parts of the fish.
- Reducing Bacterial Growth: The gut cavity is teeming with bacteria. Removing the guts eliminates this source, significantly slowing spoilage. To do this, make a shallow cut from the vent (anus) forward to the gills, being careful not to puncture the intestines. Remove all internal organs. You can also scrape out the kidney line (a dark red line along the backbone) for even better results. If you remove the gills, you're also taking out another area prone to bacterial growth and a source of blood.
- Rinse and Ice: After gutting, rinse the cavity thoroughly with clean, cold water (if available). Then, pack the cavity with ice before submerging the fish in your ice slurry. This cools the fish from the inside out, which is incredibly effective. For larger fish, this internal icing is critical. You'll find a good Fillet Knife for Cleaning Fish and knowing How to Sharpen a Fillet Knife will make this process much easier when you get home, but a sharp utility knife can work in the field.
| Method | Pros | Cons | Best Use Case |
|---|---|---|---|
| Ice Slurry (Whole Fish) | Rapid cooling, excellent freshness, simple to execute. | Requires ample ice and water, fish take up more space. | Short to medium trips, all fish sizes. |
| Field Dressed & Iced | Superior freshness for longer durations, less bacterial growth. | More effort and mess in the field, requires a sharp knife. | Long trips, warm weather, larger fish. |
| Stringer (in water) | Keeps fish alive (briefly), no ice needed for active fish. | High stress for fish, rapid spoilage in warm water, predator risk. | Very short-term holding for immediate release/photos. |
| Insulated Fish Bag (Ice) | Good for large fish, flexible storage, portable. | Less rigid than a cooler, can be heavier when full. | Kayak fishing, large species (muskie, pike). |
Practical Tips and Troubleshooting for Iowa Anglers
Even with the best gear and techniques, local conditions and common sense play a huge role in successful fish preservation.
Mind the Temperature and Time
Iowa weather can be a real mixed bag. A cool spring day is vastly different from a sweltering July afternoon, and your strategy needs to adapt.
- Hot Iowa Summers: On those scorching days when the air temperature hits the 90s, your ice will melt faster, and fish will spoil quicker. This is when you absolutely need maximum ice, a well-insulated cooler, and frequent checks. Consider shorter fishing trips or focusing on cooler parts of the day. Don't leave your cooler sitting in direct sunlight, even if it's full of ice. Throw a towel or a reflective blanket over it.
- Time Limits: Even with perfect icing, there's a limit to how long fish will stay "fresh off the line." Aim to process your fish (fillet, package, freeze) within 24-48 hours of catching for optimal quality. The sooner, the better. If you have a two-day trip, be extra diligent about your ice supply and consider more aggressive field dressing.
- Checking Your Ice: Periodically check your cooler. Is the water still icy cold? Is there still plenty of ice? If it's turning into lukewarm fish soup, you've got a problem and need to add more ice immediately. I often pack extra bags of ice in a separate, less-used cooler just for replenishment. You can often grab more ice at a convenient store or even a Bass Pro Shops if you're near a major waterway or town.
Water-Specific Considerations
The type of water you're fishing in Iowa can also influence your methods.
- River Fishing vs. Lake Fishing: Rivers often have stronger currents, which can make handling fish and accessing your cooler a bit more challenging. If you're Drift Fishing the Mississippi River, you might be moving a lot, so having your cooler easily accessible and secure is important. Lakes tend to offer more stable platforms for handling fish. The water temperature itself can also vary; shallower lakes might warm up faster than deeper river sections. When you're fishing on the bank of the Des Moines River Catfish Spots, you'll definitely need a robust cooler and plenty of ice, as there's no livewell option.
- Accessibility for Cooling: If you're hiking to a remote trout stream in Northeast Iowa, carrying a large cooler might not be feasible. In these cases, a smaller insulated fish bag with ice packs or a very small, well-packed cooler might be your best bet, with plans to get the fish to a larger ice source quickly. For Trout Fishing Streams in Northeast Iowa, immediate chilling is still paramount.
Transportation and Storage Once Home
You've done the hard work in the field, now don't mess it up on the home stretch!
- Transferring to Fridge/Freezer: As soon as you get home, transfer your fish from the cooler. If you're eating it within a day or two, simply place it in an airtight container or zip-top bag in the coldest part of your refrigerator. For longer storage, you'll want to freeze it.
- Proper Packaging for Freezing: Freezing is fantastic, but improper packaging can lead to freezer burn. Vacuum sealing is the absolute best method, as it removes all air. If you don't have a vacuum sealer, use heavy-duty freezer bags. Fill the bag with water (or even milk for panfish!) to cover the fish completely before sealing, creating a block of ice around the fish. This pushes out air and prevents freezer burn. You can find excellent vacuum sealers and freezer bags on Amazon, or at local outdoor retailers. Don't forget to label your packages with the date and species! It's surprising how quickly you can forget when something was caught.
By following these steps, you can confidently head out to your favorite Iowa fishing spots, knowing that even without a livewell, you'll be bringing home the freshest, most delicious catch possible.
Disclaimer
This article is for general informational purposes only and does not constitute professional advice. Laws, prices and regulations vary by location and change over time. Consult a qualified professional for guidance on your specific situation.