How to Sharpen a Fillet Knife
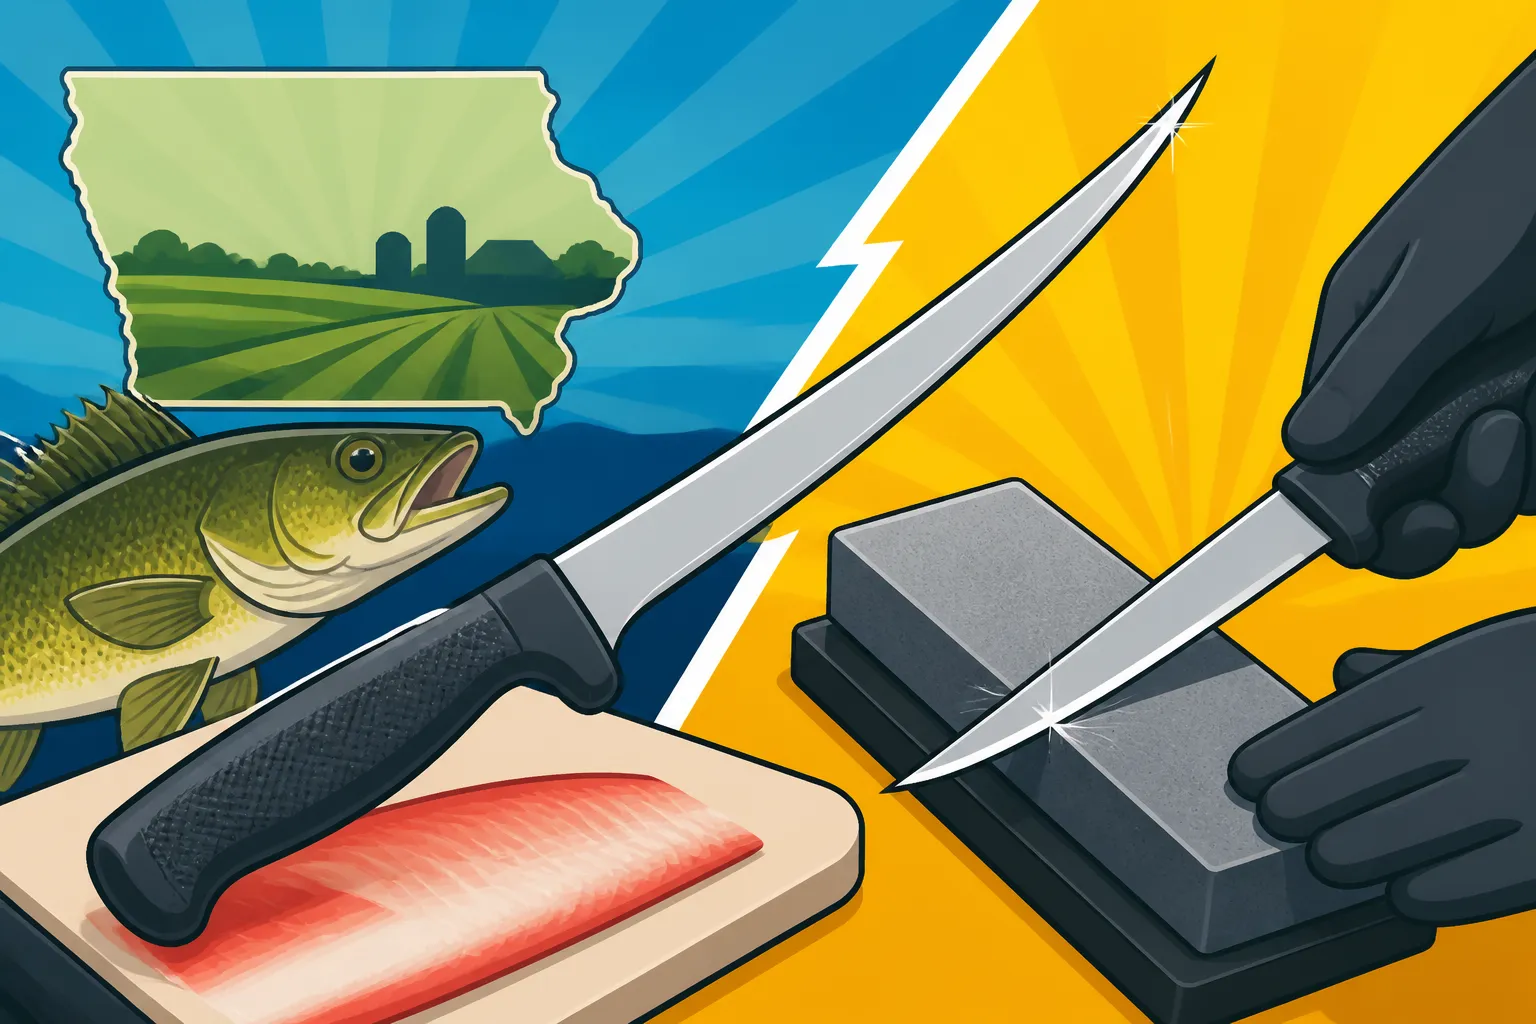
There’s nothing quite as frustrating as reeling in a beautiful catch – maybe a nice walleye from Clear Lake or a plump channel cat from the Des Moines River – only to have your excitement dampened by a dull fillet knife. You try to make those clean, efficient cuts, but the blade drags, tears the flesh, and ultimately wastes precious meat. It’s not just annoying; it’s a safety hazard. This guide is here to walk you through the simple, yet crucial, steps to sharpen your fillet knife, ensuring every fish cleaning session is smooth, safe, and satisfying.
Why a Sharp Fillet Knife Matters More Than You Think
Before we dive into the "how-to," let's chat about why a truly sharp fillet knife isn't just a luxury, but a necessity for any Iowa angler. It's easy to overlook, especially when you're caught up in the thrill of the catch, but the moments after a successful fishing trip often involve preparing your bounty. A dull knife turns this satisfying chore into a frustrating struggle, and honestly, it can even be dangerous.
Safety First: A Dull Blade is a Dangerous Blade
It sounds counterintuitive, doesn't it? Many people assume a dull knife is safer because it can’t cut as easily. But in reality, the opposite is true. When a blade isn't sharp, you have to apply significantly more pressure to make it cut. This increased force makes it much harder to control the knife, and when it inevitably slips – which it will, on a slick fish or a greasy cutting board – you’re far more likely to injure yourself. A sharp knife, on the other hand, glides through fish flesh with minimal effort, requiring less force and giving you greater control over your cuts. This drastically reduces the risk of slips and nicks, keeping your fingers safe and sound. It’s a bit like driving a car with bald tires versus new ones; you just have more control with the right equipment.
Efficiency and Enjoyment: Making the Most of Your Catch
Beyond safety, a sharp fillet knife transforms the entire experience of preparing your fish. Think about it: you've spent hours out on the water, battling the elements and the fish, all for the delicious reward. Why compromise that reward with a poor filleting job? A razor-sharp blade allows you to make precise, clean cuts, minimizing waste and maximizing the amount of edible meat you get from each fish. Those paper-thin fillets of walleye or perfectly de-boned crappie become a reality, not just a dream. It makes the process quicker, more enjoyable, and honestly, more respectful to the fish you've harvested. You'll spend less time struggling and more time looking forward to cooking up those pristine fillets. Plus, it just feels good to use a tool that performs exactly as it should.
Understanding Fillet Knife Edges and Angles
Just like different fishing techniques are best suited for different species or conditions, understanding your fillet knife's edge and the angle at which it's sharpened is fundamental to maintaining its peak performance. It's not just about grinding metal; it's about understanding the geometry that makes a knife cut efficiently.
Common Edge Types and What They Mean for Sharpening
Most fillet knives, especially those designed for fish, feature a relatively thin blade with a fine edge. The most common grind you'll encounter is a V-grind or saber grind, where the blade tapers evenly to a sharp point. This creates a strong, yet acute, cutting edge perfect for slicing through fish flesh without tearing. Some specialized knives might have a slightly different geometry, but for the vast majority of anglers, a good, consistent V-edge is what you're working with.
When you sharpen, you're essentially recreating that V-shape at the very tip of the blade. The goal isn't just to make it "sharp," but to remove any micro-burrs, straighten the edge, and refine it to a point where it can easily sever fibers. Understanding your knife's inherent edge profile helps you know what you're trying to achieve, preventing you from inadvertently changing its intended performance.
The Importance of Maintaining the Correct Angle
This is where many anglers stumble. The angle at which you sharpen your knife is perhaps the single most critical factor in achieving and maintaining a truly sharp edge. Most fillet knives are designed with an edge angle between 15 and 20 degrees per side. This means if you measure the total angle of the V-shape, it would be between 30 and 40 degrees. A more acute angle (closer to 15 degrees) will be incredibly sharp and slice through delicate fish like crappie with ease, but it will also be more prone to dulling or rolling if it hits bone or a hard surface. A slightly wider angle (closer to 20 degrees) will offer more durability, which might be better for larger, bonier fish or if you're a bit rougher on your tools.
The key isn't necessarily hitting an exact angle (though consistency is great!), but rather maintaining a consistent angle throughout the sharpening process. If you vary the angle as you stroke the blade, you'll round off the edge instead of creating a keen, sharp point. Many sharpening systems include angle guides or are designed with fixed angles to help you achieve this consistency, which is a huge benefit for those just starting out or for busy anglers who just want a quick, reliable edge.
Popular Methods for Sharpening Your Fillet Knife
There are as many ways to sharpen a knife as there are opinions on the best fishing lure, but some methods stand out for their effectiveness and popularity among anglers. Each has its own benefits and drawbacks, and the "best" method often comes down to personal preference, budget, and the level of skill you're willing to develop. Knowing your options can help you select the right tool for your specific needs, whether you're looking for precision or pure speed.
Whetstones: The Traditional and Versatile Approach
Whetstones, sometimes called sharpening stones, are the classic choice for many knife enthusiasts, and for good reason. They offer unparalleled control and allow you to achieve an incredibly fine, razor-sharp edge if you master the technique. These stones come in various grits, from coarse ones (like 200-400 grit) that quickly remove metal and repair dull or damaged edges, to very fine grits (1000-6000+) that polish the edge to a mirror finish. You'll typically use them with water (waterstones) or oil (oilstones) to lubricate the surface and carry away metal particles, preventing the stone from clogging. You can find a wide array of options at places like Bass Pro Shops or even online retailers like Amazon, ranging from beginner-friendly combination stones to professional-grade sets.
The main advantage of a whetstone is its versatility and the ability to dictate your exact sharpening angle, allowing you to customize the edge to your preference. This also means you can fix deeply damaged edges or completely re-profile a blade if needed. However, the downside is that it requires practice to consistently maintain the correct angle. It's a skill that takes time to develop, but once you get the hang of it, you'll be able to bring any knife back to life.
Pull-Through Sharpeners: Quick Fixes for the Angler On-the-Go
For those who prioritize speed and simplicity, pull-through sharpeners are incredibly popular. These compact devices typically feature V-shaped slots with abrasive materials – often carbide for coarse sharpening and ceramic for fine honing – set at a pre-determined angle. All you have to do is place the knife blade in the slot and pull it through a few times, usually progressing from coarse to fine. They’re fantastic for quick touch-ups on the boat or right after a long day of fishing before you even start cleaning your catch. They’re also usually quite affordable and easy to stash in your Iowa Fishing Gear Guide or tackle bag.
The biggest pro of pull-through sharpeners is their ease of use and speed. They take the guesswork out of angle maintenance, making them ideal for beginners or those who just need a functional edge quickly. The main drawback is that they remove a fair amount of metal with each pass, especially the carbide versions, and because the angle is fixed, you can't customize it to your knife. This can lead to a slightly less refined edge compared to a whetstone, and over time, they can alter the blade's profile if used excessively. However, for getting a quick, functional edge, they're hard to beat.
Electric Sharpeners: Speed and Consistency at Your Fingertips
Electric knife sharpeners offer a middle ground between the manual skill of whetstones and the fixed angles of pull-through models. These devices typically have multiple sharpening stages, often using abrasive wheels or belts, and guides to hold your knife at a consistent angle. You simply run the blade through the designated slots, usually starting with a coarse grit and moving to a finer one. They are fantastic for quickly restoring a very dull knife and can handle a variety of blade types. Many models are robust enough to handle everything from your kitchen knives to your fillet blade.
The primary benefit of electric sharpeners is their remarkable speed and consistency. They can make a very dull knife sharp in a matter of minutes, and because of the angle guides, they produce a uniform edge with minimal effort. This makes them a great option for anglers who have multiple knives to sharpen or who just don't want to mess with manual techniques. The downsides include their higher initial cost compared to manual options, and they can sometimes remove more metal than a skilled whetstone user. It's also critical to follow the manufacturer's instructions carefully to avoid overheating the blade, which can damage the temper of the steel.
Sharpening Rods and Steels: Honing and Realignment
Often mistaken for sharpeners, honing rods (or steels) don't actually sharpen a knife by removing significant amounts of metal. Instead, their purpose is to realign a knife's edge that has been bent or rolled over through regular use. Over time, the microscopic edge of a knife can curl slightly, making it feel dull even if it's not truly unsharp. A honing rod gently pushes that edge back into alignment, restoring its keenness without grinding away steel. These rods come in various materials, including steel, ceramic, and diamond-coated.
Honing steels are an essential tool for maintaining an edge between full sharpening sessions. They can bring back a knife's cutting power after just a few passes, significantly extending the time before you need to reach for a whetstone or electric sharpener. It’s a quick, easy step you can do before or after each filleting session, and it makes a huge difference in edge longevity. Think of it like brushing your teeth – it doesn't replace the dentist, but it keeps your teeth healthy between cleanings.
Step-by-Step Sharpening Guide: Mastering Each Tool
Now that we've covered the different types of sharpening tools, let's get into the nitty-gritty of how to use them effectively. No matter which method you choose, remember that patience and a light touch are your best friends.
Using a Whetstone for a Razor-Sharp Edge
Sharpening with a whetstone is a rewarding skill that gives you ultimate control over your knife's edge.
- Prepare Your Stone: If you're using a waterstone, soak it in water until no more bubbles appear (usually 5-10 minutes). For oilstones, apply a thin layer of honing oil. This creates a slurry that helps with sharpening and prevents the stone from clogging.
- Start with the Coarse Grit: Begin with your coarse grit side (e.g., 400 or 600). Hold the knife at your desired angle (typically 15-20 degrees for a fillet knife). A good trick is to lay the knife flat, then lift the spine slightly, imagining you're trying to slice a thin layer off the stone. Use a consistent pressure, pulling the blade across the stone as if you're trying to slice a thin layer off its surface. The entire edge, from heel to tip, should make contact with the stone.
- Establish a Burr: Make consistent strokes in one direction (pushing away from you or pulling towards you, depending on your preference) on one side of the blade until you feel a "burr" forming on the opposite edge. This tiny lip of metal indicates you've thinned the edge enough. You can check for a burr by lightly running your thumb across the edge (not along it!).
- Switch Sides: Once a burr is established on one side, flip the knife and repeat the process on the other side, using the same angle and pressure, until you feel the burr switch to the first side.
- Move to Finer Grits: Once you've established a burr on both sides with the coarse stone, switch to your medium grit (e.g., 1000-2000). Repeat the process, using lighter pressure and fewer strokes, to refine the edge and reduce the burr. Then move to your fine grit (e.g., 3000-6000+) for polishing the edge, using even lighter pressure and very few strokes. The goal now is to remove the burr completely and achieve a highly polished, keen edge.
- Strop (Optional but Recommended): For the ultimate edge, you can use a leather strop or a piece of cardboard. Lightly drag the knife spine first (angle slightly shallower than your sharpening angle) across the strop a few times per side to completely remove any remaining microscopic burr.
Getting the Best Results from a Pull-Through Sharpener
Pull-through sharpeners are designed for ease, but a few tips can help you get the best performance and prolong your knife's life.
- Read the Instructions: Every pull-through sharpener is a little different. Take a moment to read the manufacturer's guide.
- Use the Right Grit: Most sharpeners have "coarse" and "fine" slots. Always start with the coarse slot if your knife is truly dull or has nicks. If it just needs a touch-up, you can go straight to the fine ceramic slot.
- Light, Even Pressure: Don't press down too hard. The abrasives do the work. Use light, even pressure and pull the knife through the slot from heel to tip, ensuring the entire blade passes through.
- Consistent Strokes: Make 3-5 passes through the coarse slot, then switch to the fine slot for another 3-5 passes. The goal is to remove the burr and polish the edge. You want to see a consistent, even edge forming.
- Clean the Blade: After sharpening, wipe your blade clean to remove any metal dust.
- Be Mindful of Metal Removal: These sharpeners are quick, but they do remove metal. Use them sparingly for touch-ups rather than full re-profiling to preserve your blade.
Tips for Electric Sharpeners: The Easy Way to Sharpness
Electric sharpeners take much of the manual effort out of the equation, making them incredibly user-friendly.
- Start with a Clean Knife: Always begin with a clean, dry knife. Any fish residue could clog the sharpening wheels.
- Follow the Stages: Most electric sharpeners have numbered stages, typically starting coarse (e.g., Stage 1) and moving to fine (e.g., Stage 2 or 3). Begin with the coarsest stage appropriate for your knife's condition.
- Gentle and Slow: Don't force the knife. Guide it through the slot slowly and steadily, applying only very light, downward pressure. Let the machine do the work. Two to four passes per side in each stage are usually sufficient.
- Pull, Don't Push: You'll generally pull the knife towards you through the slots. Make sure the entire length of the blade passes through.
- Check for Sharpness: After completing all stages, carefully check the sharpness. If it's not quite there, you can do another pass or two on the fine stage.
- Clean Up: Always clean your knife thoroughly after using an electric sharpener to remove any abrasive dust or metal particles.
Finishing Touches with a Honing Steel
Regardless of your primary sharpening method, a honing steel is invaluable for maintaining your edge between full sharpening sessions.
- Hold the Steel Firmly: Hold the honing steel vertically, point down on a cutting board or counter, with a towel underneath to prevent slipping.
- Maintain Your Angle: Again, consistency is key. Hold your knife at the same angle you sharpened it at (15-20 degrees per side).
- Light Strokes: Starting at the heel of the blade, draw the knife down and across the steel in an arc, moving towards the tip. Use very light pressure – you're realigning, not grinding.
- Alternate Sides: After each stroke on one side, switch to the other, making an equal number of passes (5-10 per side) to keep the edge symmetrical.
- Test the Edge: After a few passes, your knife should feel noticeably sharper. This quick process can be done before or after each fishing trip, helping to prolong the life of your sharp edge and reduce the need for more intensive sharpening.
Maintaining Your Fillet Knife's Edge Between Sharpening Sessions
Sharpening your fillet knife is only half the battle; proper care and maintenance are just as crucial for keeping that edge keen and ready for action. Neglecting your knife after a successful day on the water can quickly undo all your sharpening efforts. Think of it like taking care of your fishing reel or line – consistent care keeps it performing at its best.
Proper Cleaning and Storage Practices
After you’ve cleaned your fish, your knife needs immediate attention. Don’t just toss it in the sink with other dishes or let fish slime dry on it. Always hand wash your fillet knife with warm, soapy water immediately after use. Fish oils and acids can be corrosive to some blade materials, and dried-on residue is much harder to remove later. Pay special attention to the area where the blade meets the handle to prevent buildup.
Once washed, it’s critical to dry the knife thoroughly with a clean towel. Moisture is the enemy of sharp steel, as it can lead to rust and corrosion, which will dull your edge and damage the blade. After drying, store your knife properly. This means using a blade guard, sheath, or a magnetic strip. Never just throw it loosely into a drawer or a tackle box where it can bang against other tools like Best Pliers for Removing Hooks or get nicked by hooks and weights. A proper sheath protects the edge from damage and protects you from accidental cuts when reaching for other gear. For extended storage, especially during the off-season, consider giving the blade a light wipe with a food-safe mineral oil to prevent rust, much like you might condition your fishing line before putting your gear away for the winter, as discussed in our How to Store Fishing Gear Over Winter guide.
The Role of Honing in Edge Preservation
We touched on honing rods earlier, but it's worth reiterating their importance in daily or pre-trip maintenance. A honing steel isn't about making a dull knife sharp; it's about keeping a sharp knife sharp. Every time you cut, the super-fine edge of your fillet knife can micro-fold or roll slightly, making it feel less effective. This isn't true dullness, but rather a misaligned edge.
A few quick passes on a honing steel before or after each filleting session can quickly realign these microscopic folds, bringing the edge back to its peak performance without removing any significant amount of metal. It's a proactive step that will dramatically extend the life of your knife's edge between full sharpening sessions. If you regularly hone your knife, you'll find yourself needing to break out the whetstone or electric sharpener far less often, saving you time and effort in the long run. It's a small habit that yields big returns in terms of knife performance and longevity, ensuring your blade is always ready for the next big catch. For overall gear longevity and optimal performance, check out our Iowa Fishing Gear Guide for more tips on taking care of your valuable equipment.
| Sharpening Method | Pros | Cons | Best For |
|---|---|---|---|
| Whetstone | Ultimate control, customizable angles, fine edge | Requires skill/practice, time-consuming | Experienced users, precision, damaged blades |
| Pull-Through | Fast, easy to use, portable, fixed angles | Removes more metal, less precise, non-customizable | Quick touch-ups, beginners, on-the-go |
| Electric | Very fast, consistent angles, user-friendly | Higher cost, less control, can remove more metal | Busy anglers, multiple knives, very dull knives |
| Honing Rod/Steel | Quickly realigns edge, extends sharpness | Doesn't sharpen (remove metal), only for maintenance | Regular upkeep, pre/post-filleting touch-ups |
Remember, a sharp knife is a happy knife, and a happy knife makes for a happy angler! Investing a little time in learning how to sharpen your fillet knife properly will pay dividends in safety, efficiency, and pure enjoyment every time you bring home a catch. Don't forget to keep your Best Cooler for Keeping Fish Fresh ready for those perfectly filleted fish, and consult resources like How to Keep Fish Fresh Without a Livewell if you're out on the water without a livewell. Good luck out there, and happy filleting!
Disclaimer
This article is for general informational purposes only and does not constitute professional advice. Laws, prices and regulations vary by location and change over time. Consult a qualified professional for guidance on your specific situation.