How to Read a Depth Finder for Structure
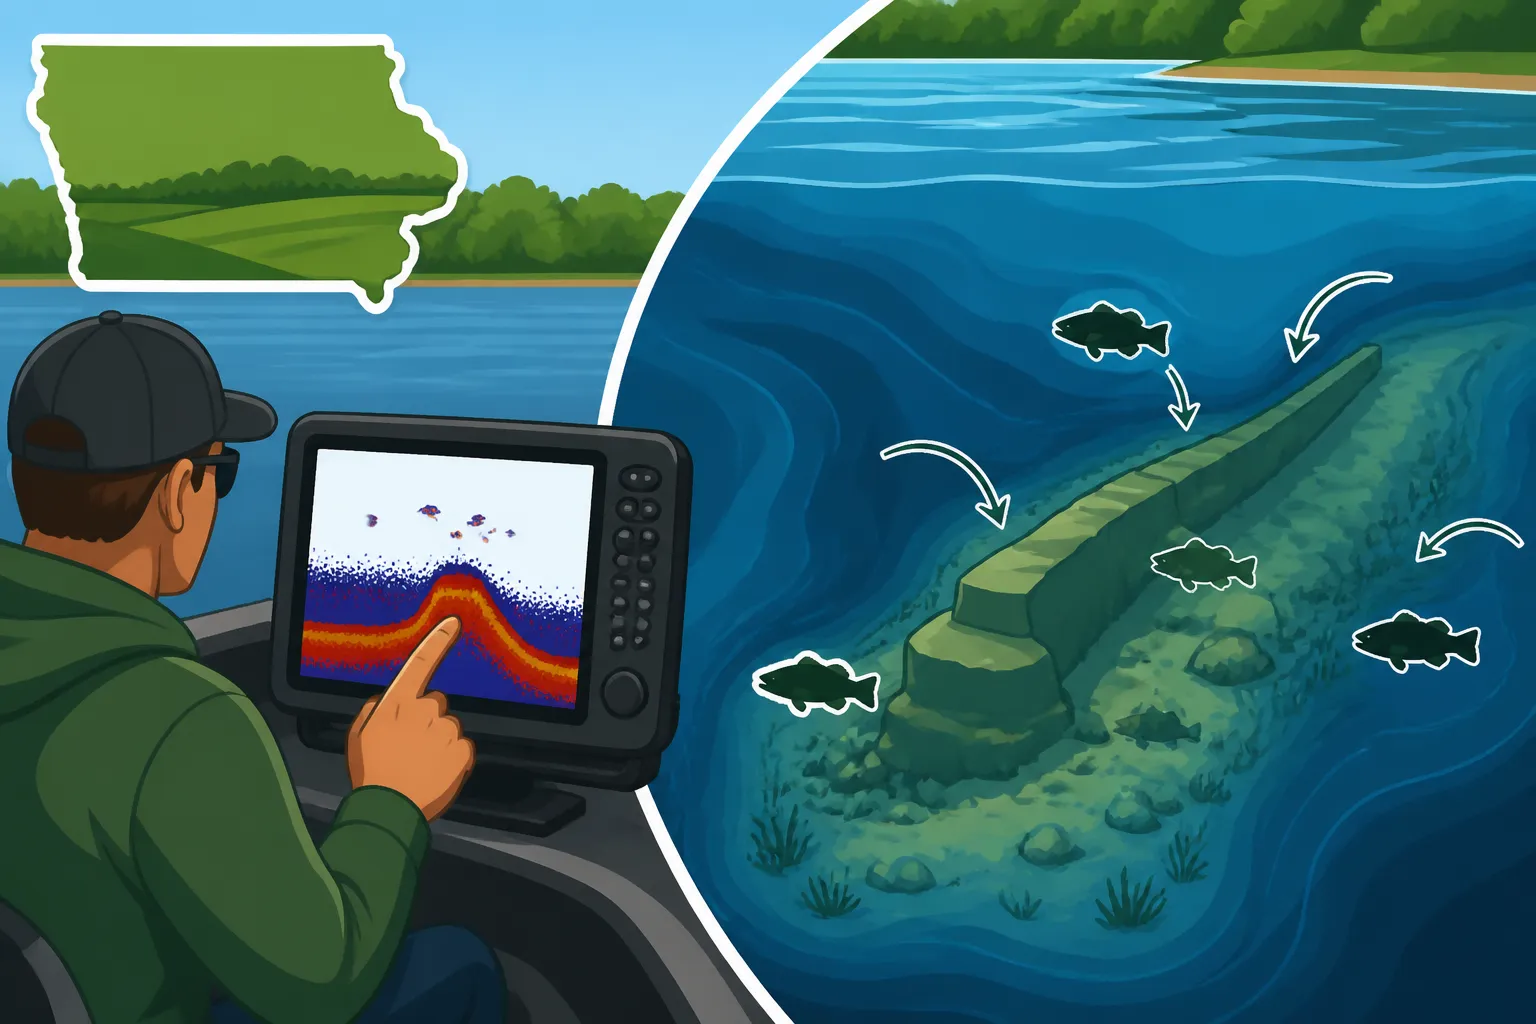
If you've ever stared at your boat's depth finder screen, feeling more confused than enlightened, you're definitely not alone. Many Iowa anglers grapple with translating those squiggly lines and colorful blobs into actual, fish-holding underwater features. It can feel like you're staring at a static-filled TV screen, wondering if those blurry lines are fish, rocks, or just… nothing. This guide is here to demystify your depth finder, helping you learn how to read its display to pinpoint structure and, ultimately, find more fish in Iowa's diverse waters.
Understanding the Basics of Your Depth Finder Display
Before we dive into the nitty-gritty of interpreting structure, let's get comfortable with the fundamental language your depth finder speaks. Think of it as learning the alphabet before you can read a book. Once you grasp these basics, the more complex interpretations will start to click into place. It’s all about understanding what the sonar signal is doing and how its echoes paint a picture of the underwater world.
The Anatomy of a Sonar Screen
Your depth finder screen is essentially a scrolling story of what's beneath your boat. As you move, new information appears on the right, and older data scrolls off to the left. The very top of the screen is your boat's location at the surface, and the bottom line is, well, the bottom! Everything in between is the water column. You'll see different colors, shades, and shapes, all indicating something important.
Those classic "arches" that everyone talks about are often fish, but it’s not always that simple. A strong, solid arch typically means a fish has passed through the sonar cone, and the strength and shape of that arch can even give you clues about the fish's size. However, incomplete arches or straight lines can also be fish that only passed through the edge of the cone or were stationary. Then there are the colors: brighter, more intense colors usually indicate a stronger return signal, meaning a harder object or something closer to the transducer, while softer colors might be less dense objects or weaker echoes.
Think about the depth numbers on your screen—these are your absolute reference points. If you see something at 15 feet in 20 feet of water, you know exactly where in the water column to focus. The sensitivity or gain setting on your unit plays a huge role here; too low, and you'll miss faint returns from fish or soft structure; too high, and you'll get a cluttered screen full of noise. Finding that sweet spot is key to clarity, and it often changes with water depth and clarity, so don't be afraid to adjust it on the fly.
Types of Sonar: 2D, Down Imaging, and Side Imaging
Modern depth finders aren't just one-trick ponies anymore. Many units offer a combination of different sonar technologies, each providing a unique perspective of the underwater world. Understanding what each one does will greatly enhance your ability to identify structure. It's like having different lenses on a camera, each revealing a different aspect of the same scene.
Traditional 2D sonar, sometimes called broadband or CHIRP sonar, is what most people visualize when they think of a depth finder. It shoots a cone-shaped pulse directly below your boat, and the echoes create those familiar arches and bottom lines. This is excellent for seeing fish in the water column and getting a general idea of bottom composition. However, it can sometimes be challenging to distinguish a tight school of fish from a brush pile or to get a truly detailed image of complex structure directly beneath you. This is often the primary display for quickly gauging depth and major contours.
Down Imaging (often called DownScan or ClearVü by various brands) provides a much more photo-like, detailed view of what's directly beneath your boat. Instead of a cone, it uses a very thin, high-frequency beam to create a precise image, almost like an X-ray of the bottom. This is where you can really start to differentiate between a submerged tree, a rock pile, or a school of baitfish. You'll see individual branches, rocks, and even the shadows they cast. While it's fantastic for detail, it generally doesn't show fish arches; instead, fish appear as bright dots or streaks on or near the structure. Fish Finders and Electronics for Iowa Anglers are essential tools for maximizing your time on the water, and understanding these different sonar types is a big part of that.
Side Imaging (or SideScan, StructureScan) takes things to another level by sending sonar beams out to the sides of your boat, often hundreds of feet in each direction. This creates a panoramic view of the bottom, allowing you to scan vast areas quickly. You can see laydowns, submerged roadbeds, rock reefs, and even baitfish schools that are far off to the port or starboard. This is particularly useful for locating structure that you might have otherwise driven right over with 2D or Down Imaging. Once you spot something interesting on Side Imaging, you can then switch to Down Imaging or 2D to get a more detailed look as you pass over it. It's like having eyes underwater that can see around corners, especially helpful when exploring larger bodies of water like the Mississippi River or the Iowa Great Lakes.
Identifying Key Fish-Holding Structures
Now that we've covered the different ways your depth finder sees the underwater world, let's translate those images into actual structure that fish love. Identifying these key features is a major step in becoming a more successful angler, as fish almost always relate to some form of structure for food, cover, or spawning.
Interpreting Lake and River Bottoms
The bottom itself is a huge piece of structure, and its composition can tell you a lot about what fish might be there. Hard bottoms and soft bottoms look distinctly different on your screen, and knowing the difference can guide your lure selection and presentation. Iowa Fishing Techniques Guide often emphasizes adapting your approach to the bottom type.
On traditional 2D sonar, a hard bottom (like rock, gravel, or packed clay) will typically show up as a thick, distinct line on the bottom of your screen, often with a clear "second return" echo just below the main bottom line. This second return happens when the sonar signal bounces off the hard bottom, travels back up, and then bounces off the surface of the water to hit the bottom again, creating a weaker, delayed echo. Think of it as a strong, clear signal. Conversely, a soft bottom (like mud, silt, or loose sand) will appear as a thinner, less defined bottom line, often without a noticeable second return. The signal tends to get absorbed by the soft material rather than reflecting sharply.
Why does this matter? Many game fish, like walleye and smallmouth bass, prefer hard bottoms for foraging and spawning because they often hold invertebrates and baitfish. Catfish, on the other hand, frequently cruise softer, muddier bottoms looking for food, though they'll also relate to hard structure. Understanding bottom transitions—where a hard bottom meets a soft bottom—is even more critical. These transition zones are absolute magnets for fish, as they offer varied food sources and cover types in one spot. On your depth finder, you'll see a clear change in the thickness and intensity of the bottom line, often with fish holding right along that seam.
Spotting Cover: Weeds, Rocks, and Timber
Beyond the bottom composition, specific types of cover provide crucial ambush points and hiding places for fish. These features will paint very distinct pictures on your depth finder screen, and learning to recognize them is paramount.
Weed beds are living structure and appear as a textured, often fuzzy area rising from the bottom on your 2D sonar. The density and height of the weeds will dictate how they appear: sparse weeds might just be a faint haze, while dense cabbage or lily pads will be a thick, distinct mass. On Down Imaging, you'll see them with much greater clarity, often allowing you to distinguish individual stalks and even open lanes within the bed. These are prime spots for largemouth bass, pike, and panfish. Remember that different weeds grow at different depths and preferences, so noting their location can inform your fishing strategy. For instance, Bass Fishing Tips for Iowa Farm Ponds often involve targeting the edges of weed lines.
Rock piles, boulders, and riprap (man-made rock banks) present as irregular, often jagged returns on your screen. On 2D, they'll show as hard, bright clusters on the bottom line, often creating a "lumpy" appearance. With Down Imaging, you'll get an almost photographic view, clearly showing the individual rocks, crevices, and larger boulders. Side Imaging is incredibly effective here, allowing you to easily scan large rock fields and identify isolated rock piles or rubble points extending from shore. These rocky structures are hotspots for smallmouth bass, walleye, and often host crayfish and baitfish, making them ideal feeding grounds.
Submerged timber, brush piles, and laydowns (fallen trees) are classic fish attractors. On 2D sonar, they appear as distinct, often vertical or angled structures rising from the bottom, frequently with fish arches suspended within or immediately around them. Down Imaging excels here, providing clear, detailed images of individual branches, stumps, and even entire tree trunks. You can often see the distinct profile of a brush pile that a conservation group might have sunk. Side Imaging will show these features as dark, prominent shadows extending away from the bottom return, often revealing large, complex pieces of wood that might be invisible on 2D or Down Imaging until you're right on top of them. Finding these structures is key for species like crappie, which love to hang out in dense cover, and for bass seeking ambush points.
Recognizing Contours and Depth Changes
Fish are often called "edge dwellers" for a reason. They love abrupt changes in depth and contour, as these areas concentrate baitfish and provide easy access to different depths and temperatures.
Drop-offs and ledges are perhaps the most famous of these depth changes. On your 2D sonar, a drop-off will be visible as a rapid change in the depth reading, with the bottom line plummeting quickly. On Side Imaging, you'll see a distinct line where the shallow flat transitions into deeper water. These underwater cliffs or shelves are critical ambush points for walleye, bass, and crappie. Fish will often suspend along the face of a drop-off or relate to its shallower edge during feeding periods, then retreat to deeper water along the base during inactive times. Learning to identify the angle and severity of these drops is crucial; a subtle slope might hold fish differently than a sheer cliff.
Humps and underwater islands are essentially submerged hills or mounds that rise up from the main lake or river bottom. On 2D sonar, you'll see the bottom line gradually rise and then fall again as you pass over it. Side Imaging is fantastic for spotting these features at a distance, as they stand out clearly against the surrounding flat bottom. These structures act as natural congregating points for baitfish and, consequently, predator fish. Walleye, bass, and even panfish will often school on top of or along the edges of humps, especially those with some sort of cover like rocks or weeds. Marking these humps with a waypoint on your GPS is absolutely essential once you find them, as fish will return to them year after year. How to Fish Deep Structure With Electronics goes into more detail on how to leverage these features.
Here's a quick look at how different structures appear on a 2D sonar display:
| Structure Type | 2D Sonar Appearance | Fish Behavior |
|---|---|---|
| Hard Bottom | Thick, bright bottom line; often strong second echo | Walleye, smallmouth prefer for feeding/spawning. |
| Soft Bottom | Thinner, less defined bottom line; weak/no second echo | Catfish, carp often forage here. |
| Weed Bed | Fuzzy, irregular mass rising from bottom; sometimes faint arches within | Bass, pike, panfish hide and ambush. |
| Rock Pile | Irregular, jagged, bright clusters on bottom | Smallmouth, walleye, perch relate to edges and crevices. |
| Submerged Timber | Distinct vertical/angled lines or shapes off bottom; arches often nearby | Crappie, bass, catfish use for cover and ambush. |
| Drop-off/Ledge | Rapid change in bottom depth; fish often suspended along face | Walleye, bass, crappie transition between depths. |
| Hump/Island | Bottom line rises then falls; can have cover on top | Concentrates bait and predators; ambush points. |
Putting It All Together: Advanced Tips for Structure Fishing in Iowa
You've learned the basics, you can identify different types of structure – now it's time to refine your skills and truly leverage your depth finder to catch more fish in Iowa. It's about taking that raw data and turning it into a successful fishing strategy.
Distinguishing Fish from Structure
This is often the trickiest part for new depth finder users. Is that a fish or just a random piece of debris? While some fish appear as classic arches, especially on 2D sonar, many times they won't, particularly if they're holding tight to structure or if your boat is moving slowly. Trust me, it takes practice, and no two depth finders are exactly alike in how they display this information.
On 2D sonar, a true fish arch is typically distinct, strong, and clearly suspended off the bottom or within cover. If you see a small, faint arch directly on a larger, irregular bottom return, that's often a fish snuggled right into a rock or brush pile. The key is context: if you're seeing multiple arches around a known structure, chances are those are fish. If you see one random, tiny dash in the middle of nowhere, it could be anything. Remember that stationary fish might only show as a line or a blob, not a distinct arch, as they aren't moving through the sonar cone in the ideal way to create that classic shape.
With Down Imaging and Side Imaging, fish rarely show as arches. Instead, they appear as bright dots or small, distinct streaky lines, often with a "shadow" next to them that can give a clue to their size and distance from the transducer. The real magic happens when you see these bright returns on or adjacent to the detailed structure image. That's your confirmation that fish are relating to that specific rock pile or submerged tree. Adjusting your gain and sensitivity settings is paramount here; too low, and you'll miss those subtle fish returns; too high, and the screen will be too cluttered to differentiate. You want enough sensitivity to pick up fish, but not so much that the screen becomes a garbled mess.
Using Waypoints and Mapping Features
Your depth finder isn't just for looking at the present; it's a powerful historical and navigational tool. Utilizing waypoints and integrating with mapping features is how you build a comprehensive understanding of your fishing grounds. This is where you transform a one-time observation into a repeatable fishing success.
When you identify a promising piece of structure on your screen – whether it's a prominent hump, a thick weed line edge, a rock pile, or a brush pile with fish indicators – immediately mark it with a waypoint. Most modern units make this a simple button press. These waypoints create a digital breadcrumb trail that allows you to return to that exact spot time and time again. Think about how many times you've thought, "I should remember this spot," only to completely lose it later. Waypoints solve that problem.
Many depth finders come with preloaded mapping, or you can add detailed map chips. These maps often show contours, depth changes, and sometimes even highlight common structures like submerged creek channels or roadbeds. By layering your sonar data onto these maps, you can start to build a clearer picture of the entire area. You might see a contour line on the map that suggests a drop-off, then use your sonar to confirm its exact location and see if fish are present. You can even "pre-fish" by studying the maps at home, identifying potential hotspots, and then driving over them with your sonar to confirm the structure and look for fish. This combination of mapping and live sonar feedback is incredibly powerful for developing a fishing strategy, especially on larger lakes like Rathbun or Saylorville.
Fine-Tuning Your Settings for Iowa Waters
Just like tuning an instrument, your depth finder needs to be adjusted for optimal performance in different conditions and water bodies around Iowa. What works perfectly on a clear, deep lake might not be ideal for a shallower, muddier river, or vice versa.
The gain or sensitivity setting is perhaps the most important adjustment. This controls how faint of an echo your unit will display. In clear, deep water, you might be able to run a higher gain to pick up more subtle fish returns. In shallow, turbid water, a lower gain might be necessary to reduce clutter and noise, making actual structure and fish easier to distinguish. Experiment with this setting; start at a medium level, then slowly increase it until you see noise or too much clutter, then back it off slightly. There’s no single “perfect” setting, as conditions are always changing.
Sonar frequency also plays a crucial role. Most units operate at multiple frequencies (e.g., 83/200 kHz for 2D, 455/800 kHz for Down/Side Imaging). Lower frequencies (like 83 kHz) penetrate deeper and cover a wider cone area, making them good for general bottom tracking in deep water, but with less detail. Higher frequencies (like 200 kHz or 800 kHz) provide much greater detail and target separation but penetrate less deeply and cover a narrower area. For detailed structure identification in shallower to medium depths (which describes much of Iowa's fishing), higher frequencies on your Down Imaging or Side Imaging will give you the clearest picture. On Amazon or through retailers like Bass Pro Shops, you can find many advanced units that allow easy switching between frequencies, giving you maximum flexibility to adapt to the specific Iowa water you're fishing.
Ultimately, reading a depth finder for structure is a skill that develops with time on the water. Don't get discouraged if it doesn't click immediately. The more you use it, the more you experiment with settings, and the more you try to correlate what you see on the screen with what you think is down there (and then confirm it with a catch!), the better you'll become.
Disclaimer
This article is for general informational purposes only and does not constitute professional advice. Laws, prices and regulations vary by location and change over time. Consult a qualified professional for guidance on your specific situation.